

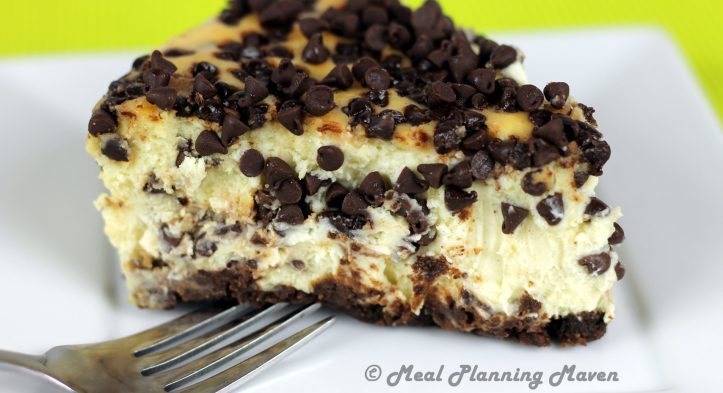
To me, an ultra-creamy NY-style cheesecake is absolutely the ultimate dessert. Swirl in just the right amount of chocolate chips and truly, a slice of heaven awaits. Those that know me well, rarely see me eating sweets. However, I promise you that I do have my moments! And if I do choose to engage in what I call “conscious treating,” it will likely be with a small slice of a divine cheesecake like this one ….
… or something devilishly delicious like my Dark Chocolate Oblivion Torte. I have always felt that if you vow to eat healthfully most days, celebrations such as Valentine’s Day, Mother’s Day, Father’s Day, birthdays, anniversaries and parties or when you feel like indulging in a special treat… may just be worthy of the splurge.
Complete Father’s Day Recipe Collection
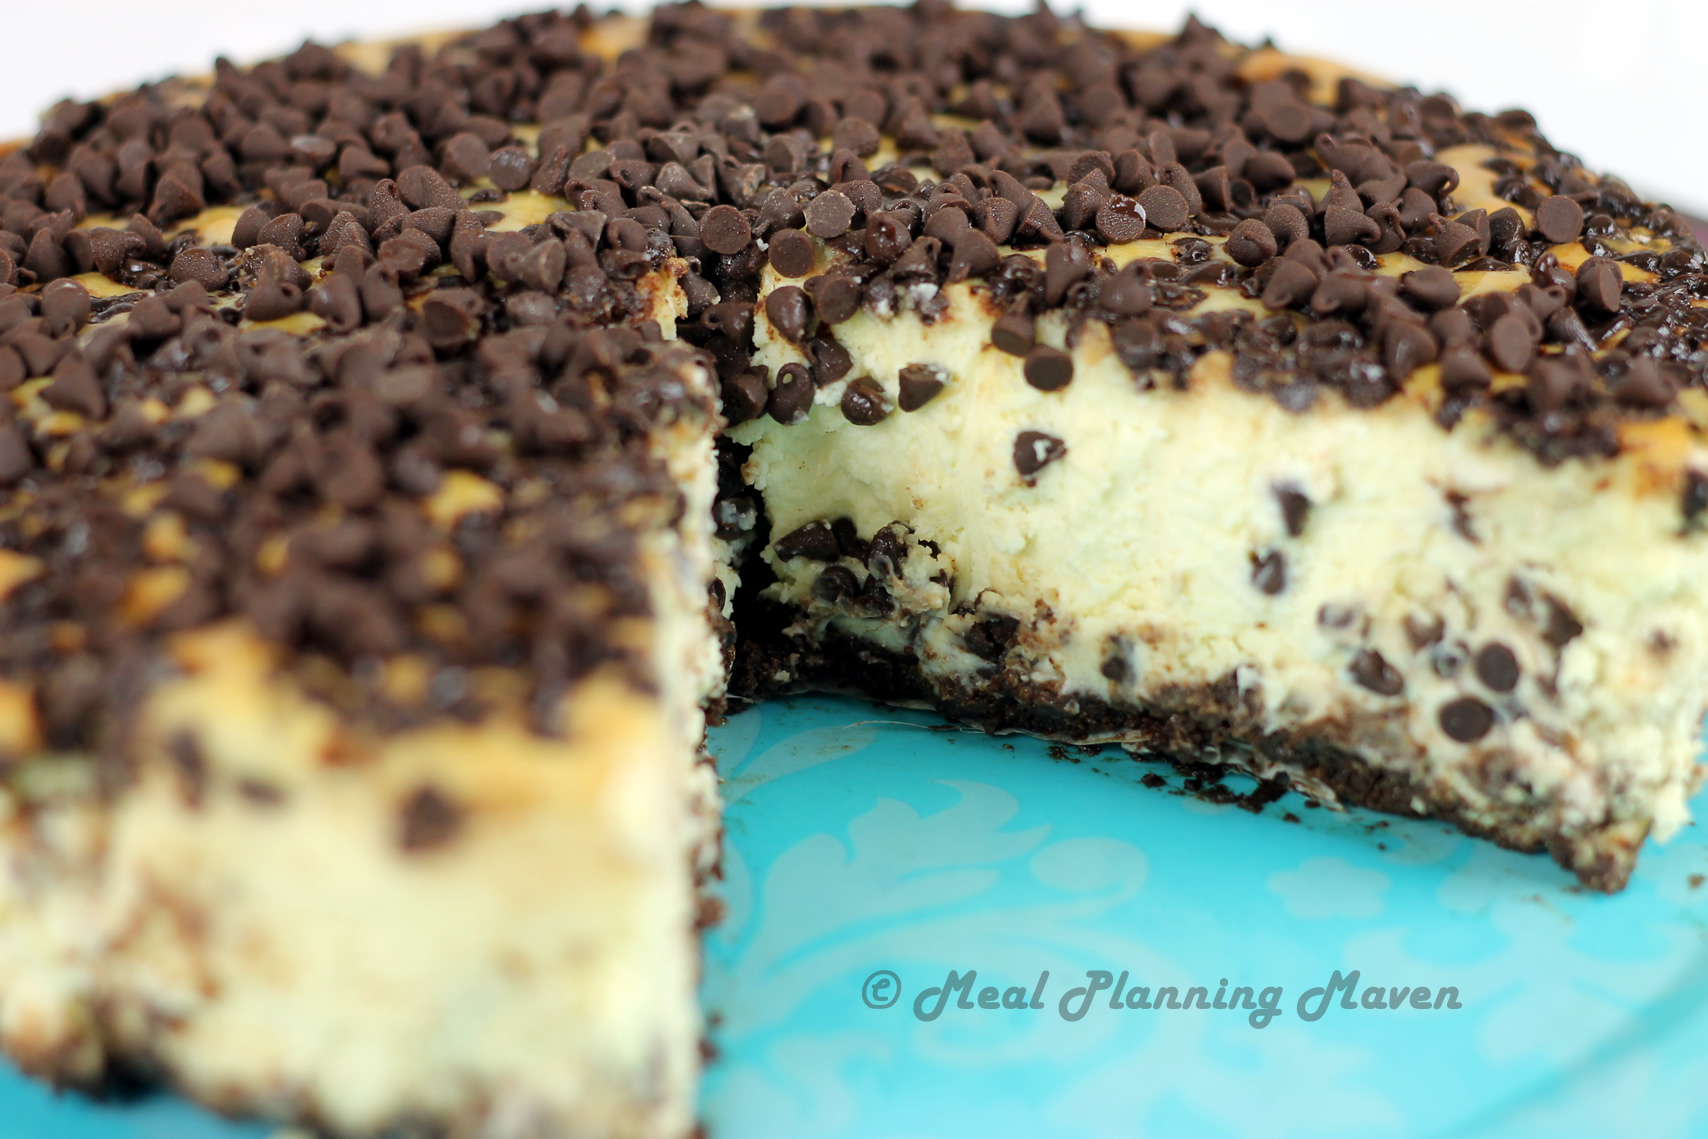
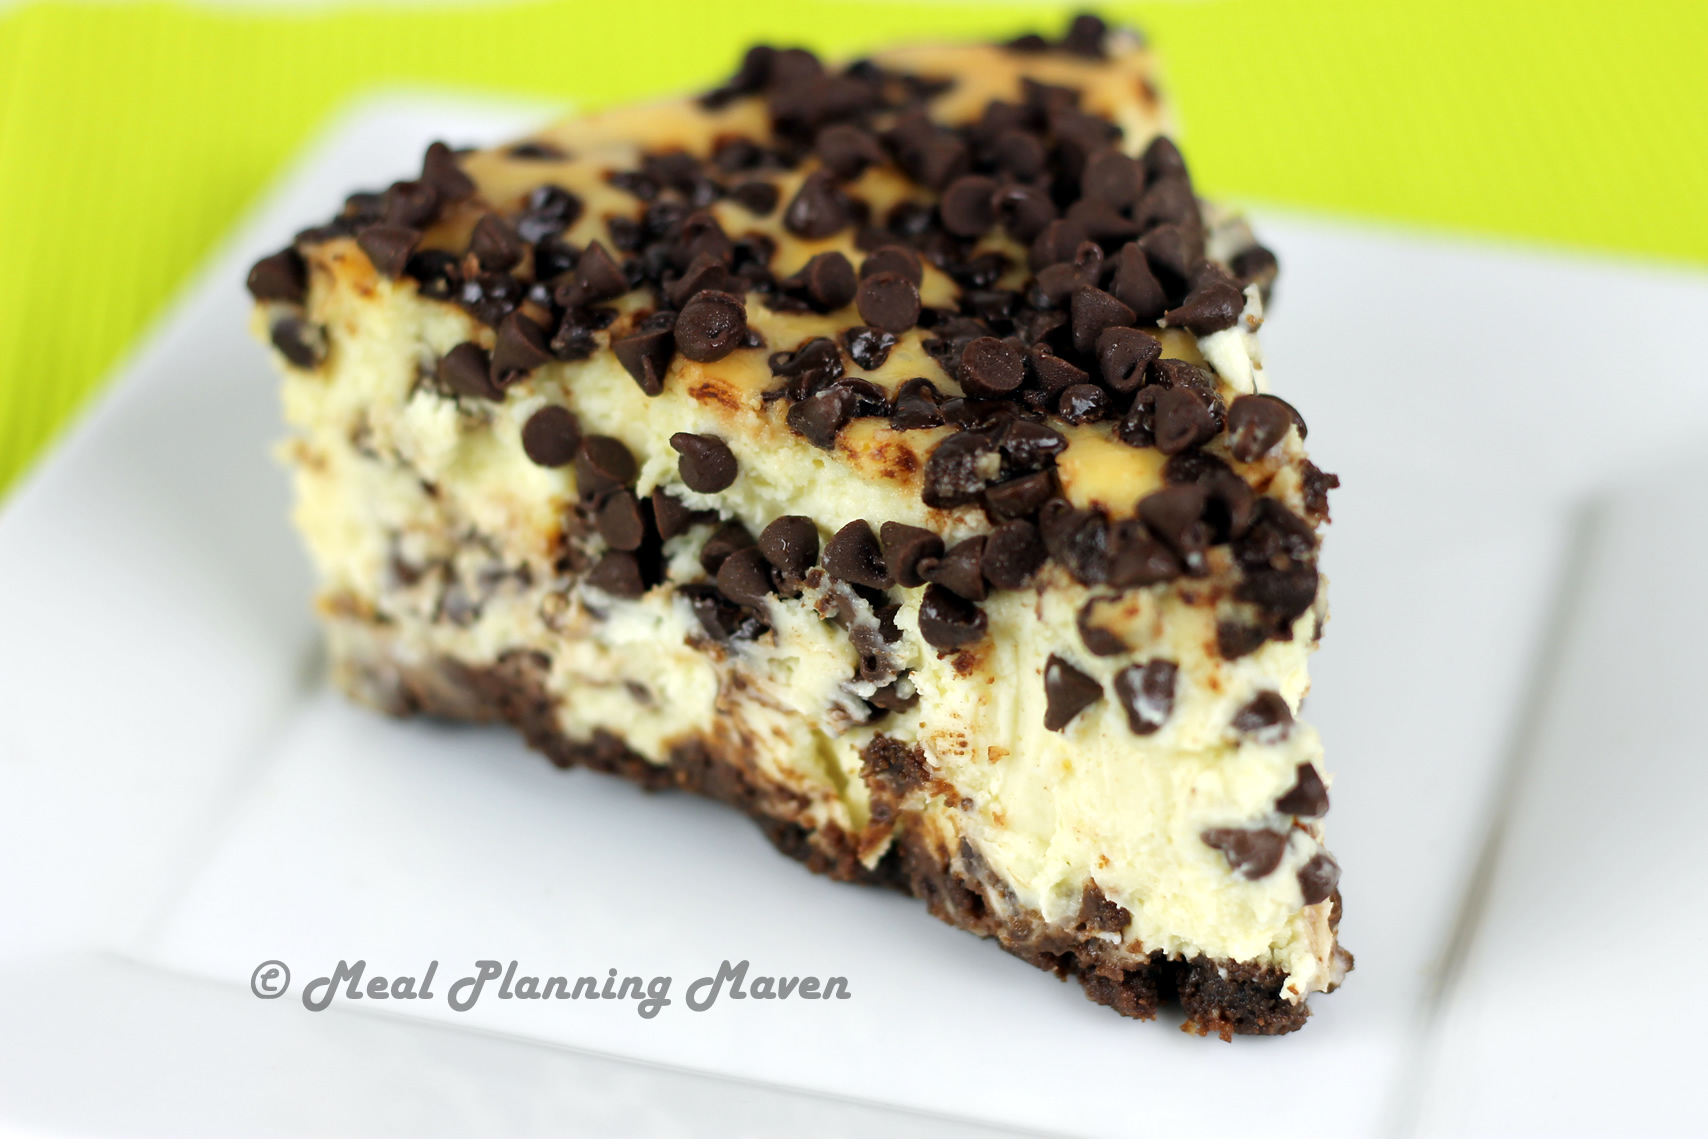
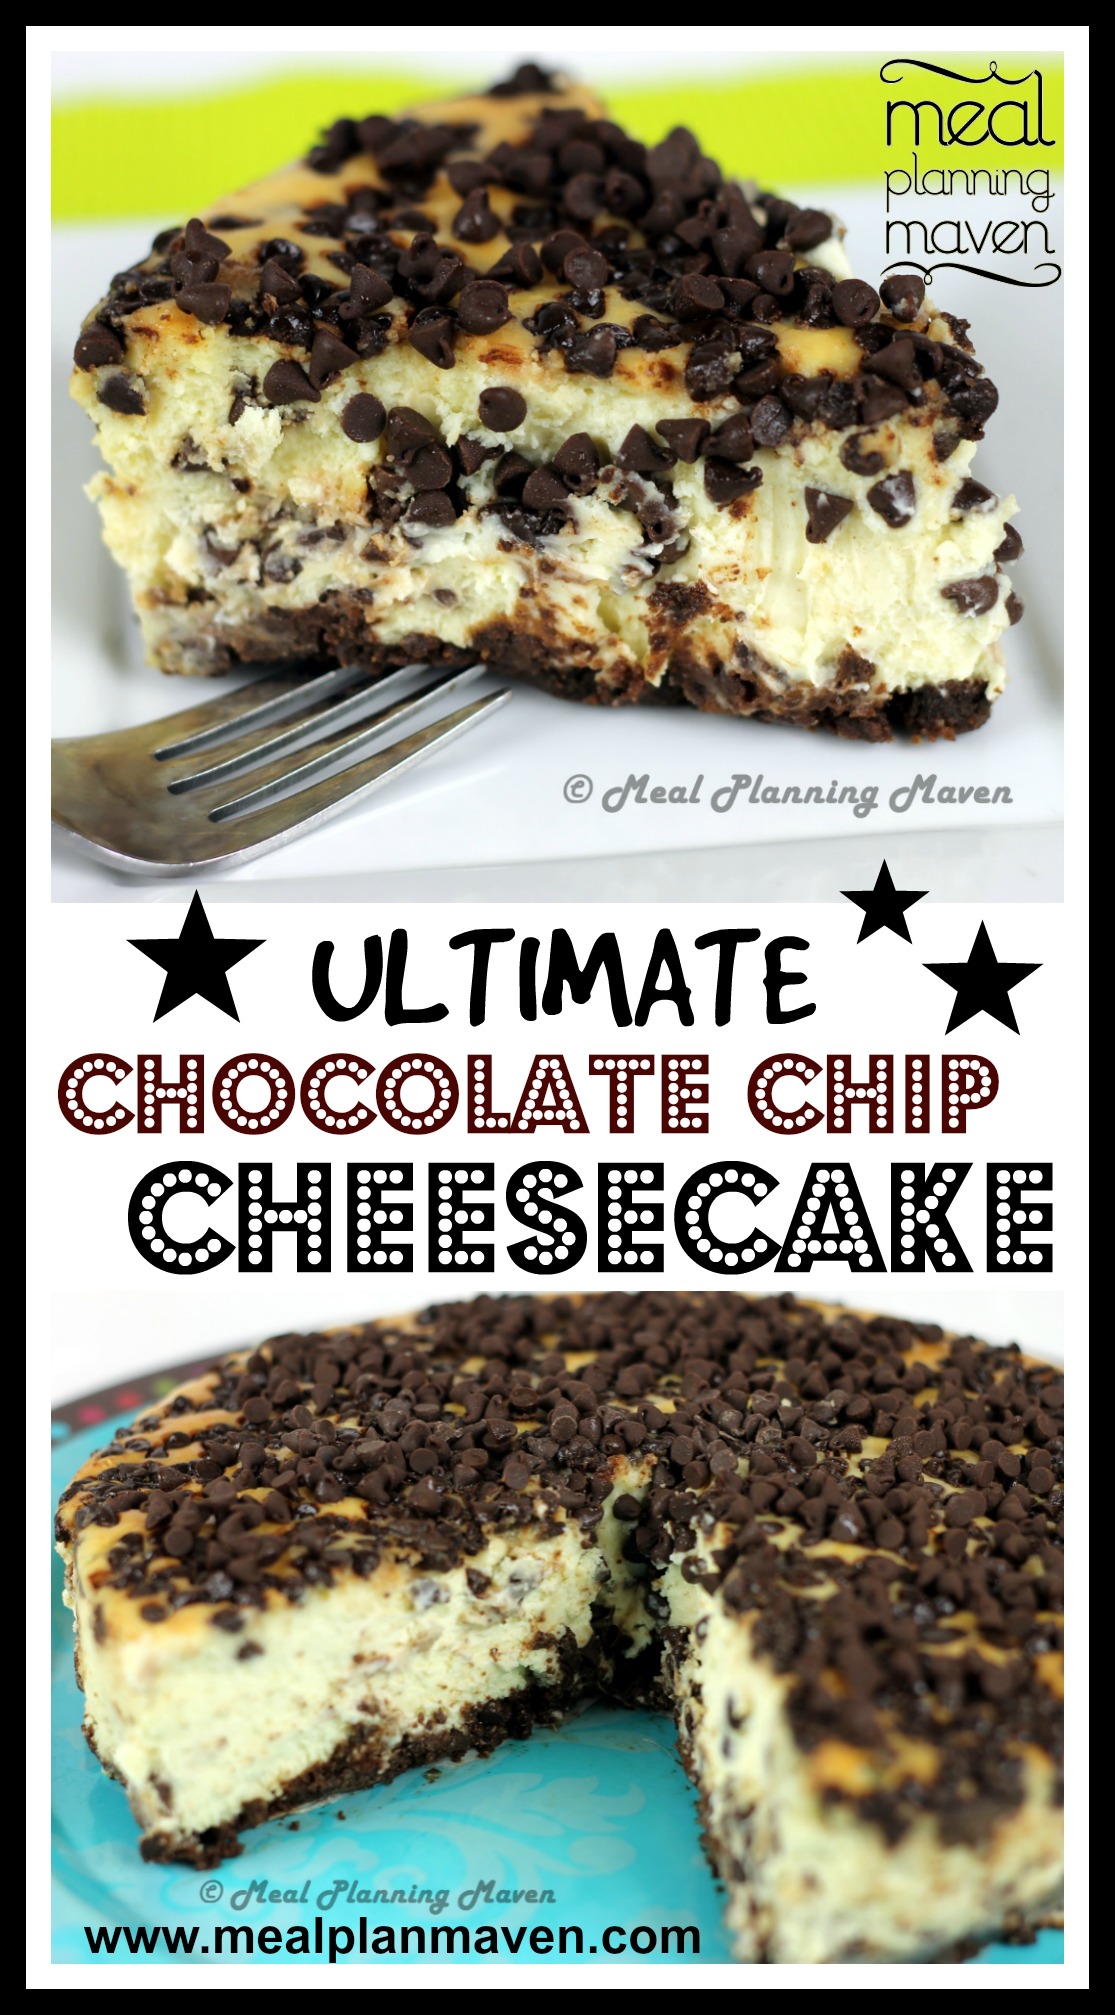
Ultimate Chocolate Chip Cheesecake
Yield: about 12 servings
Click HERE for the full recipe, but in the nutshell, here is what you do:
Instructions
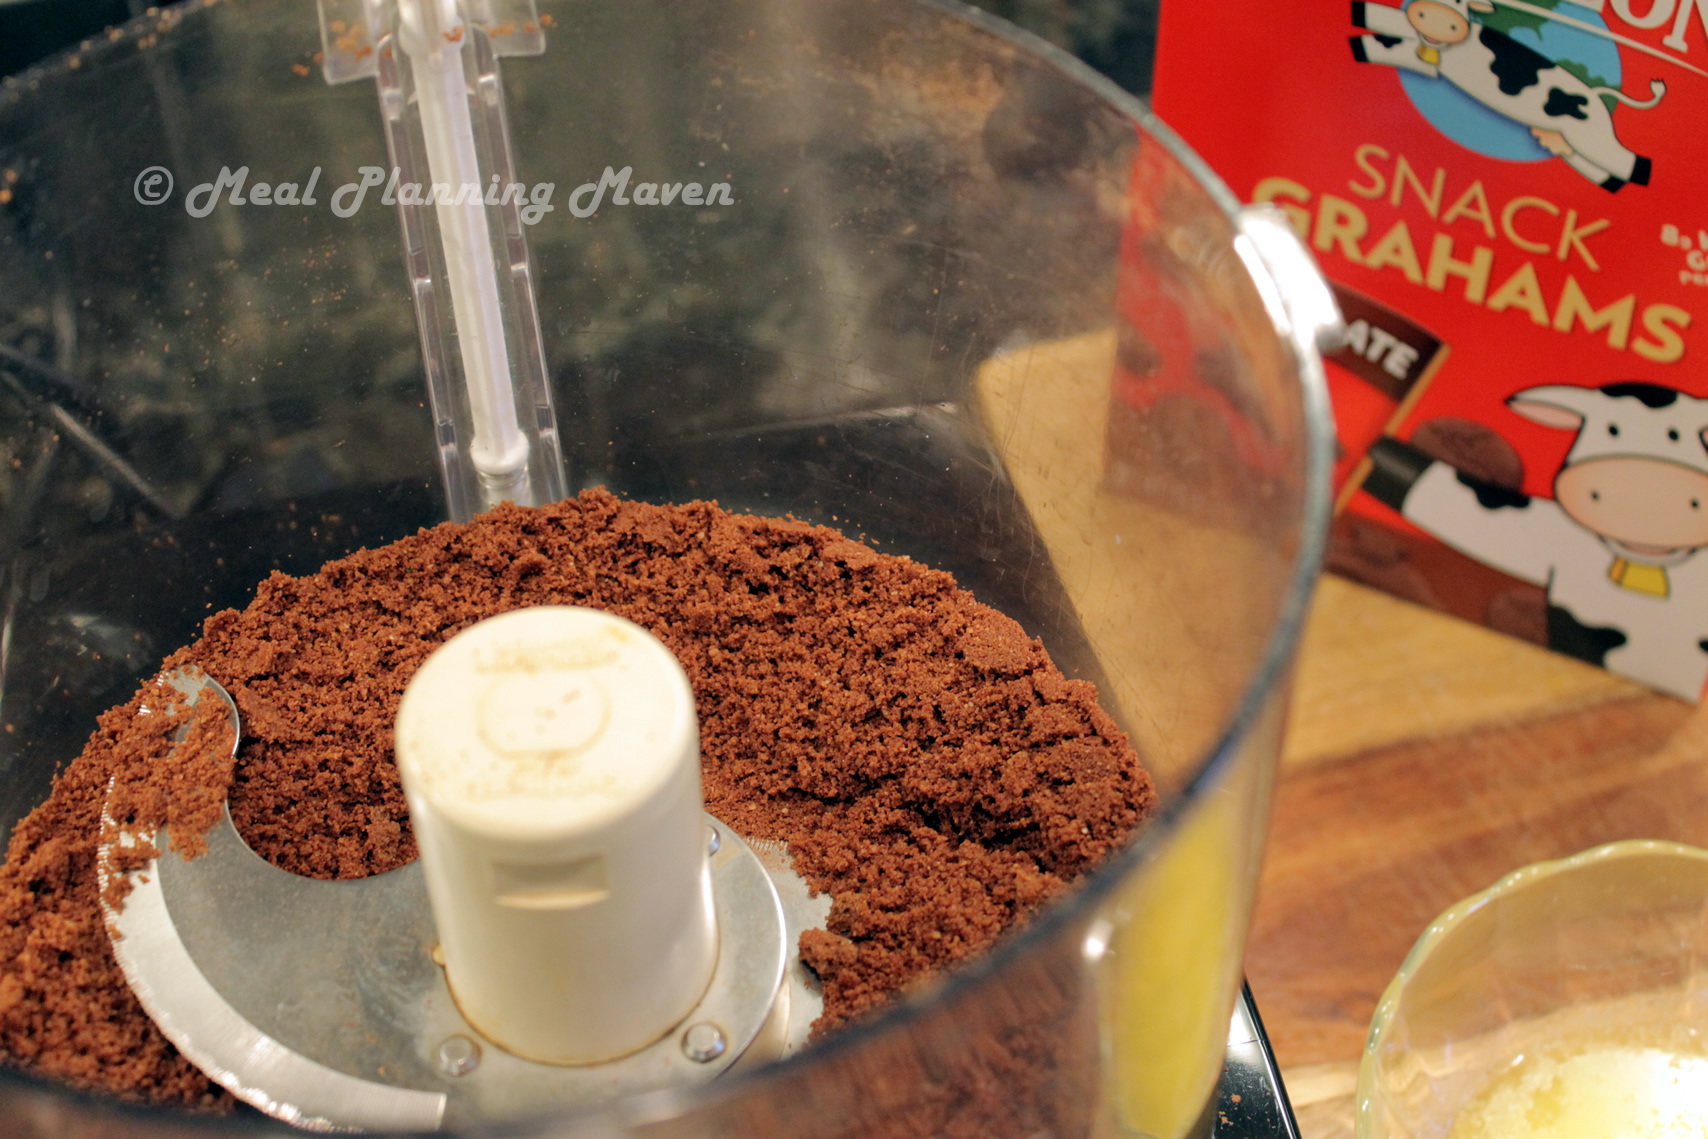
Make the Crust
In a food processor or blender, process graham crackers or graham cracker cookies into crumbs.
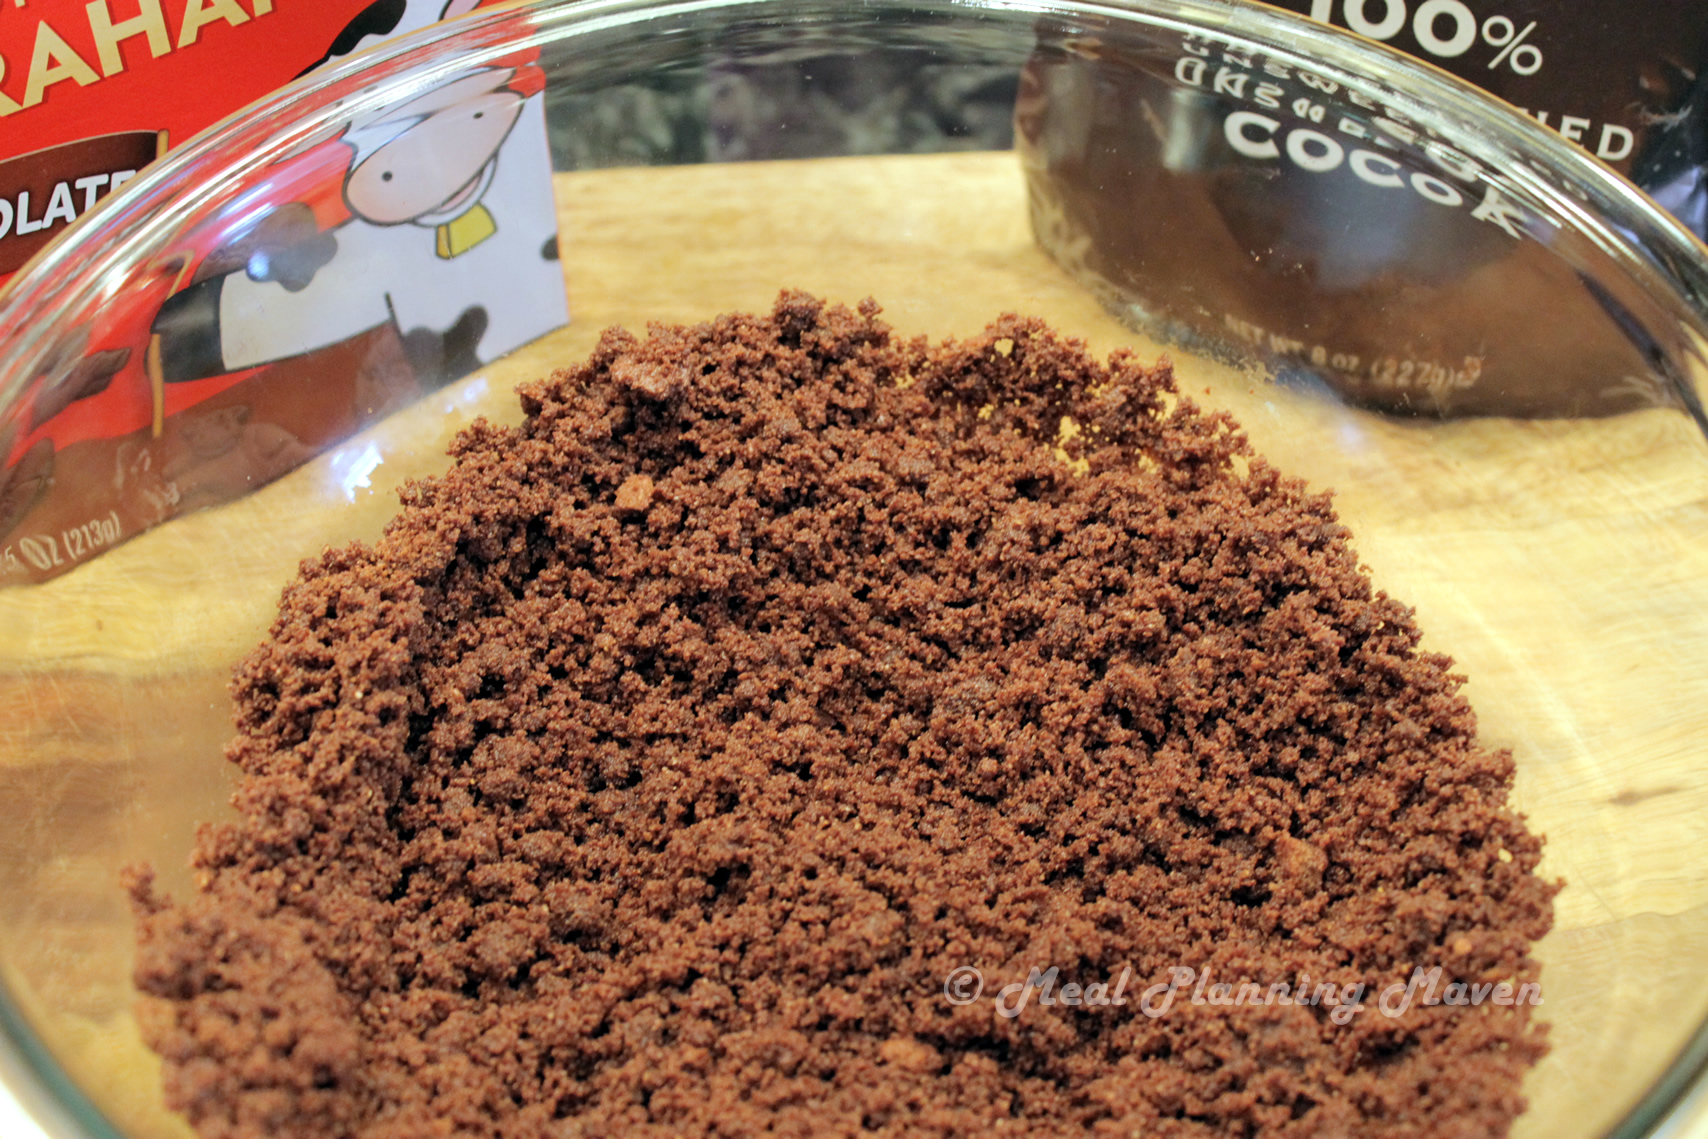
In a large bowl, stir together crumbs plus remaining crust ingredients with a fork until crumbly.
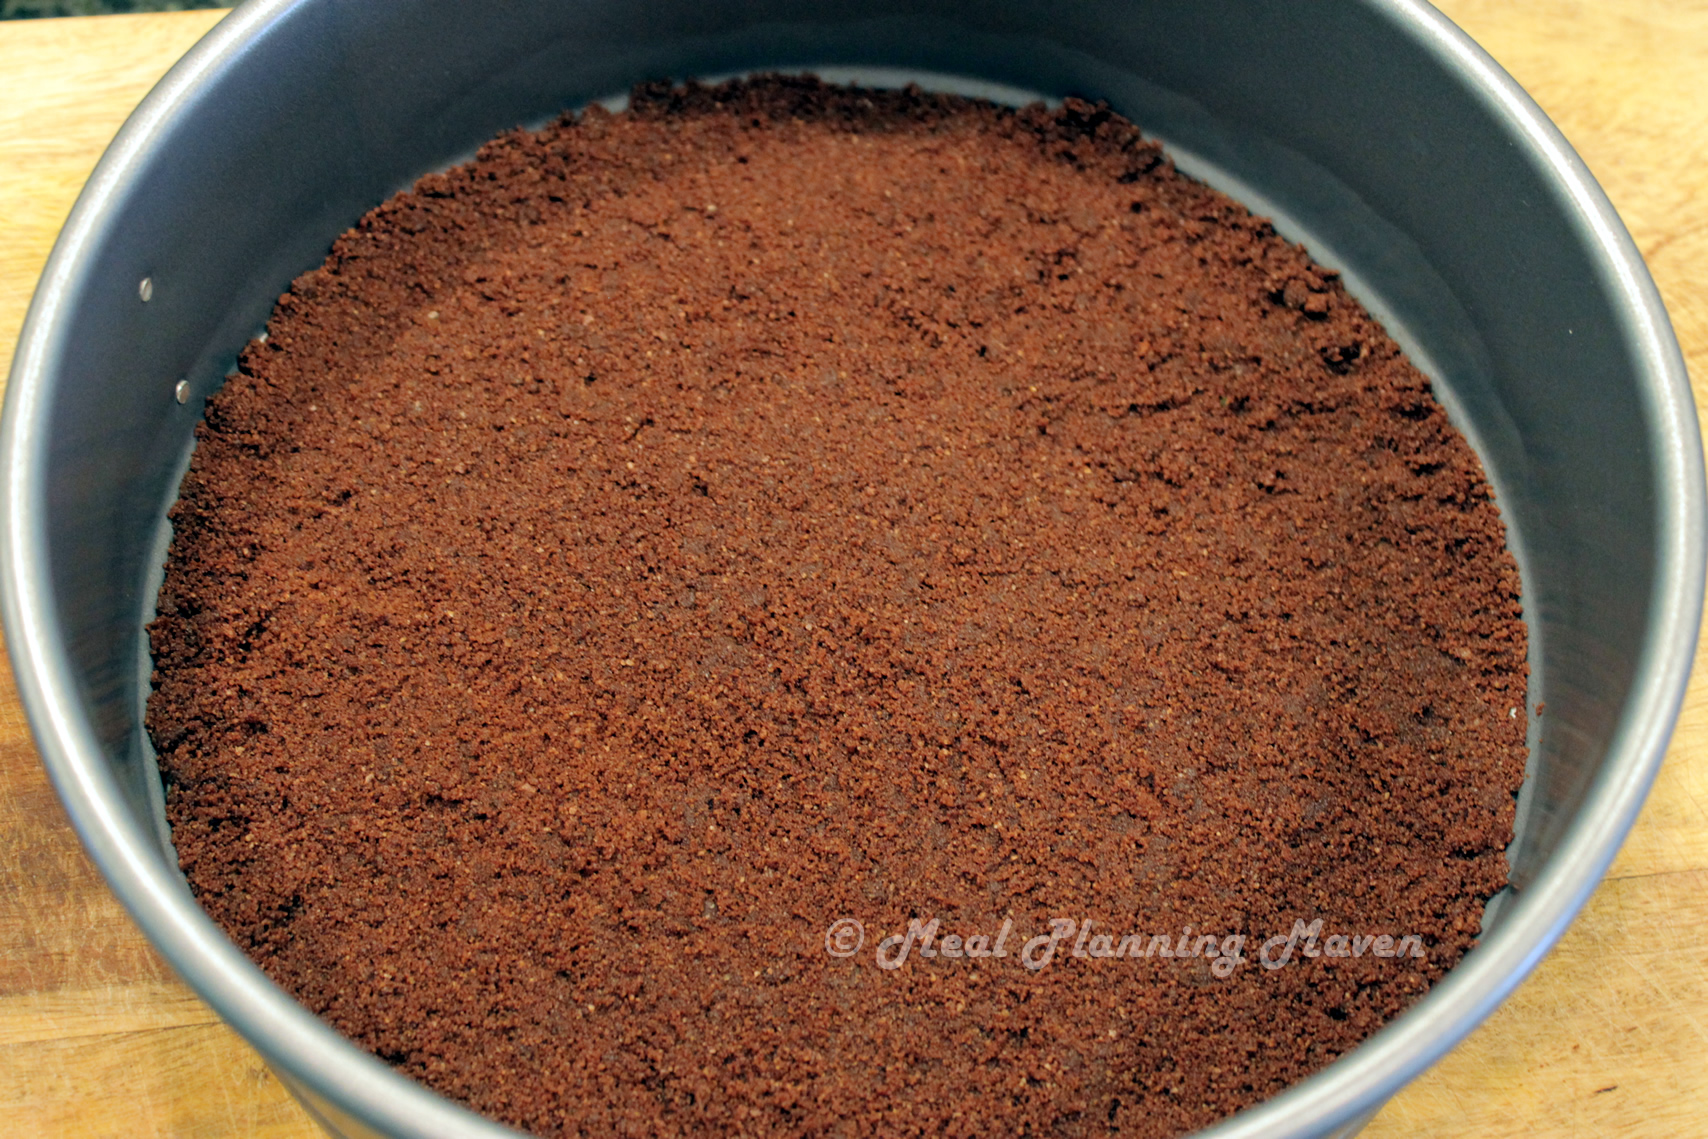
Using the back of a measuring cup, press crumbs firmly and evenly onto bottom of prepared springform pan.
Bake crust for 8 minutes. Remove to a rack; let cool. Reduce the oven temperature to 325 degrees F.
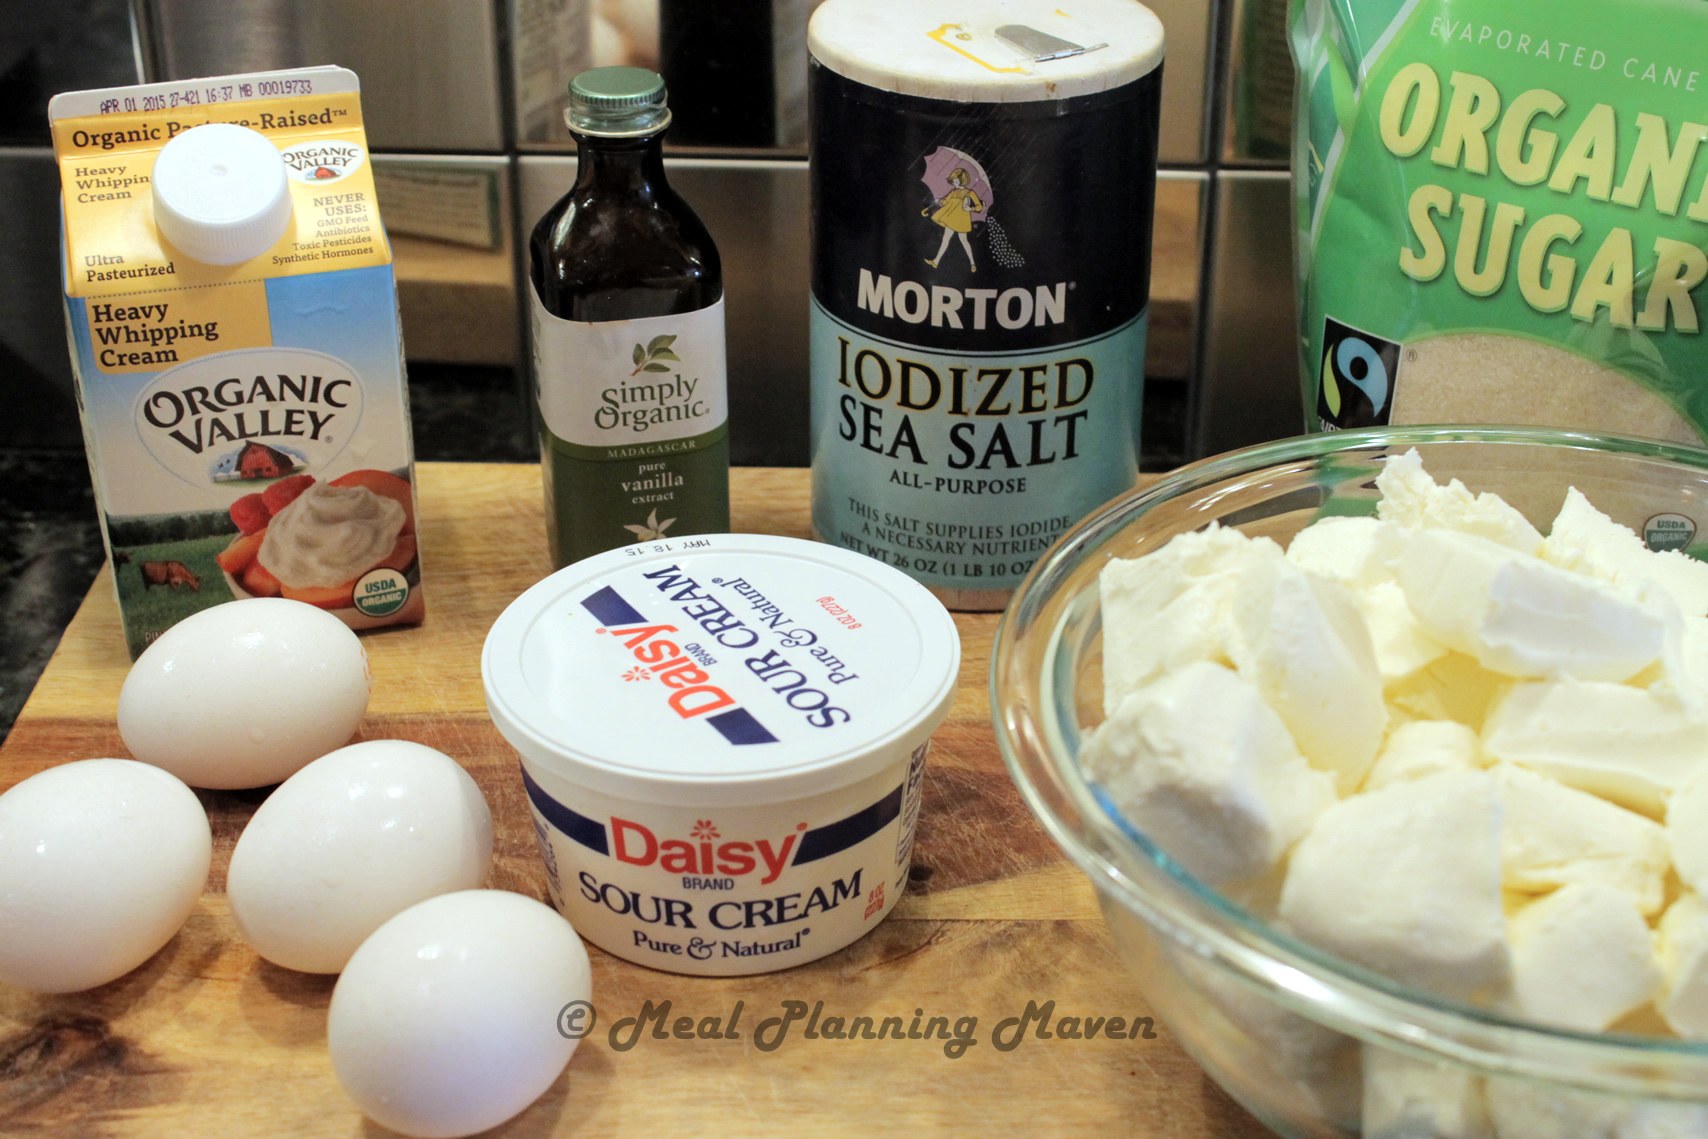
Make the Filling
Assemble filling ingredients.
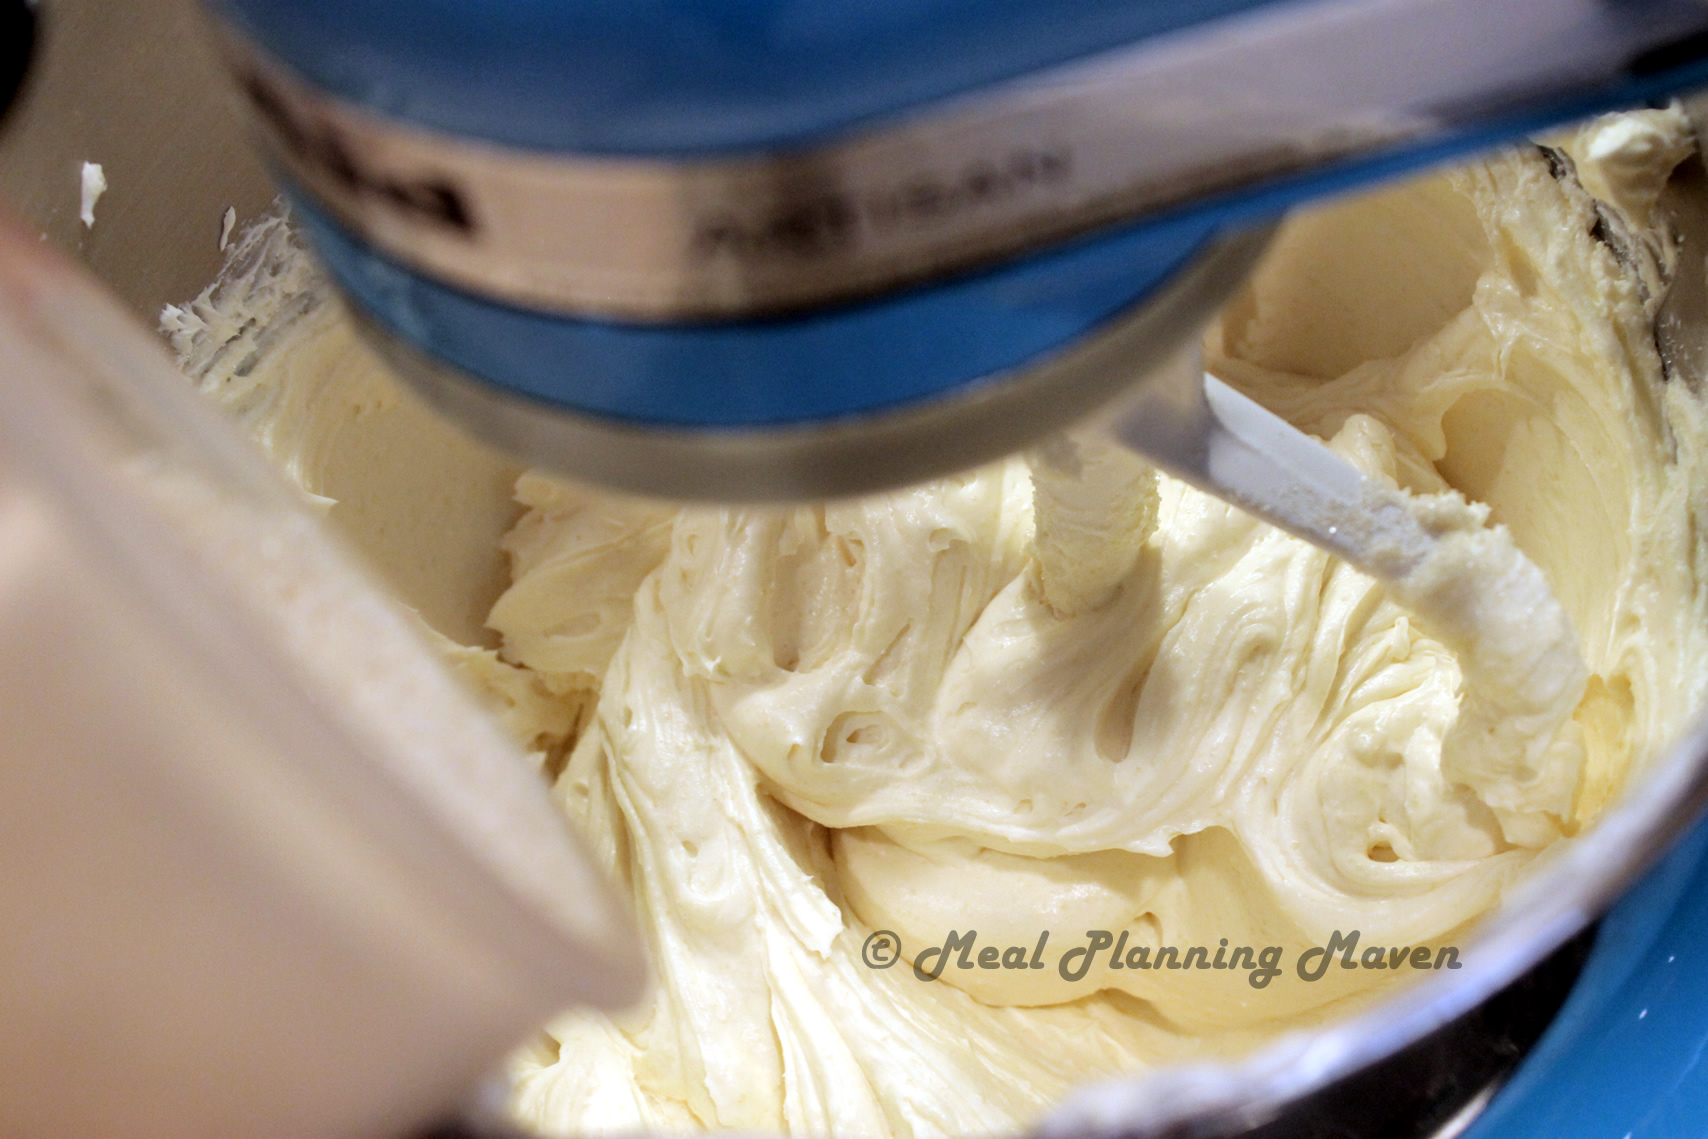
In an electric mixer bowl set on medium speed, beat cream cheese for 4 minutes or until smooth and creamy with no lumps remaining.
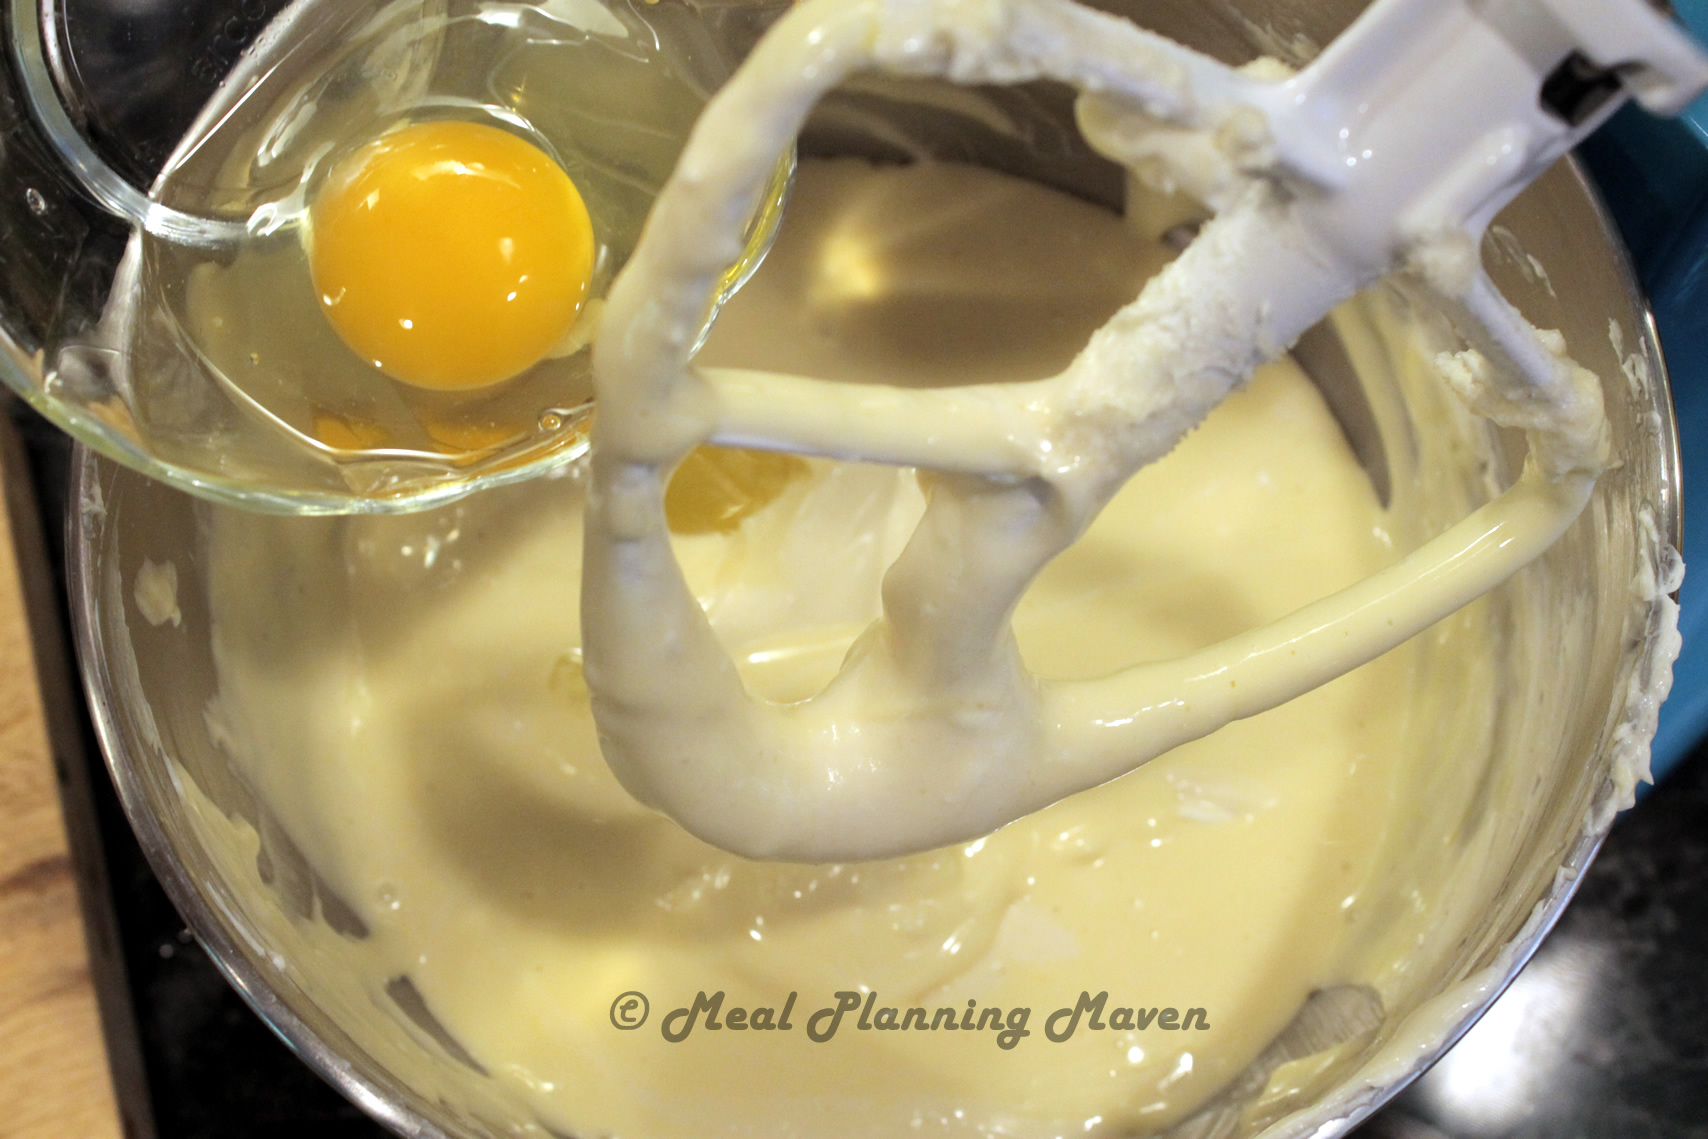
Gradually add sugar, vanilla and salt, beating until well combined. Beat in eggs, 1 at a time, scraping bowl after each addition.
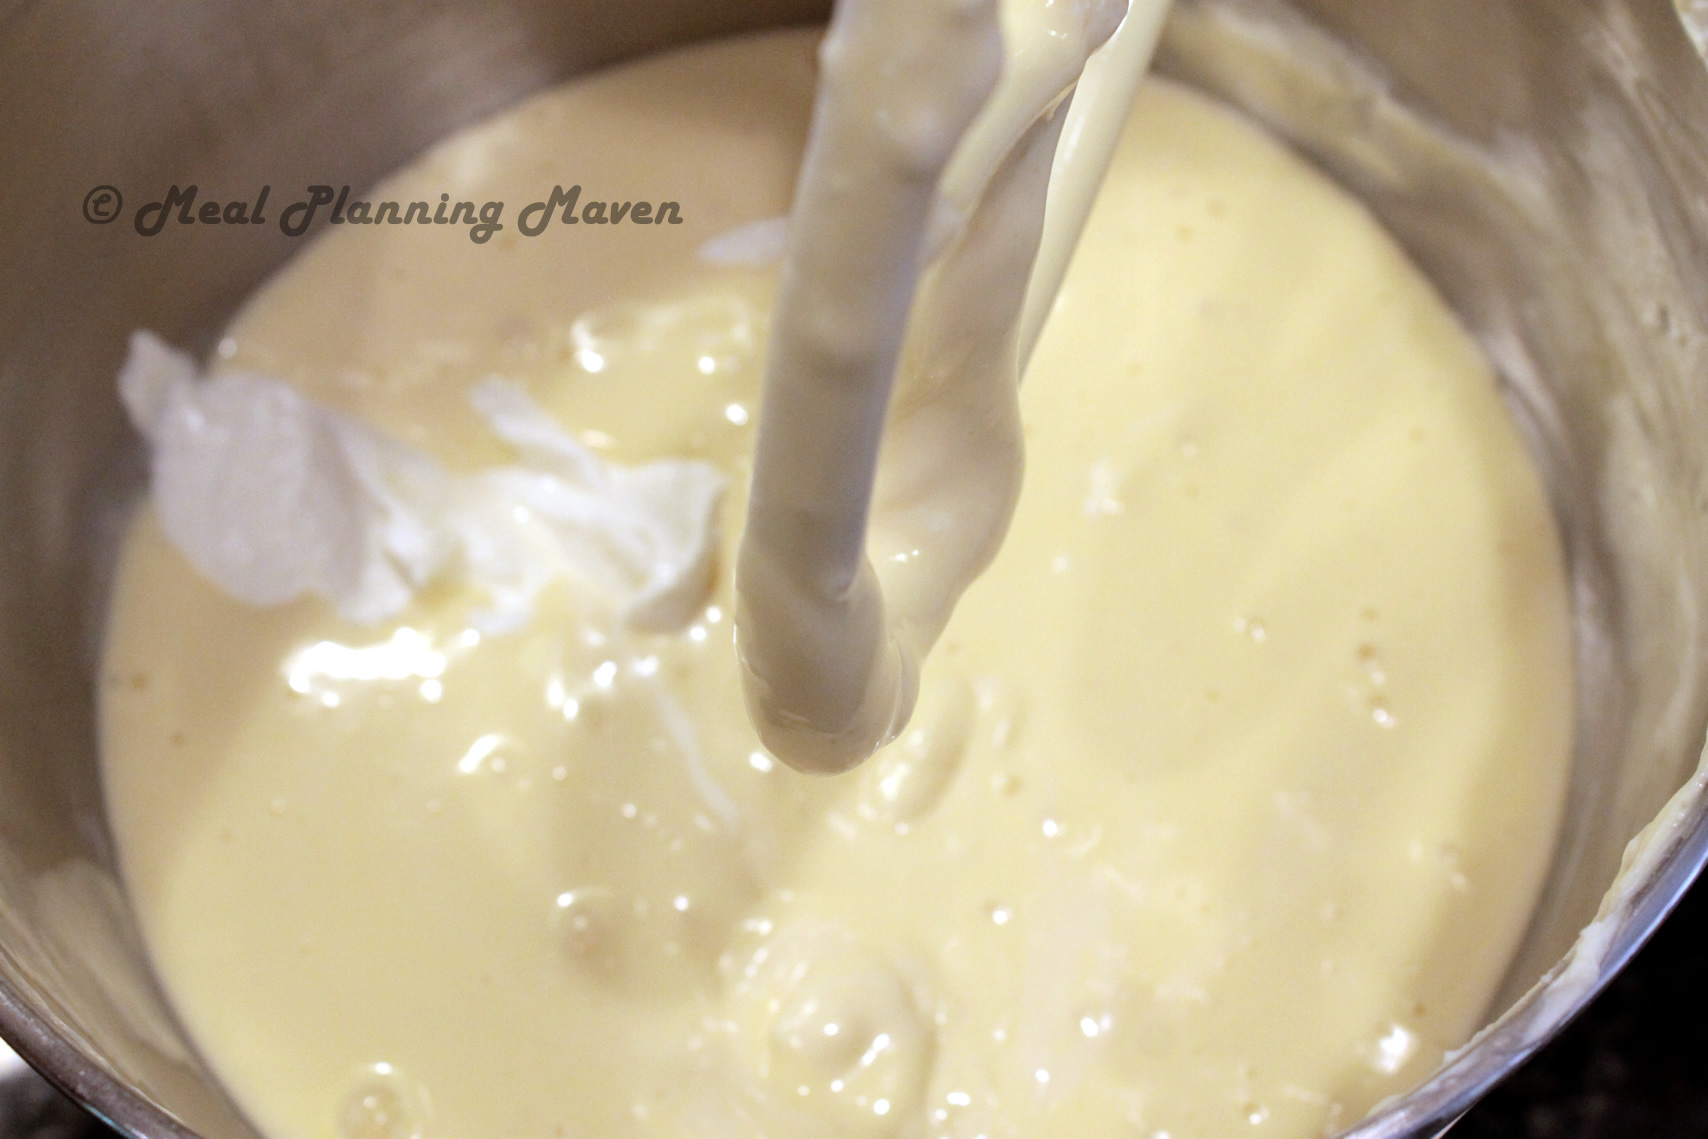
Add whipping cream and sour cream, scraping down sides of bowl to ensure all ingredients are incorporated.
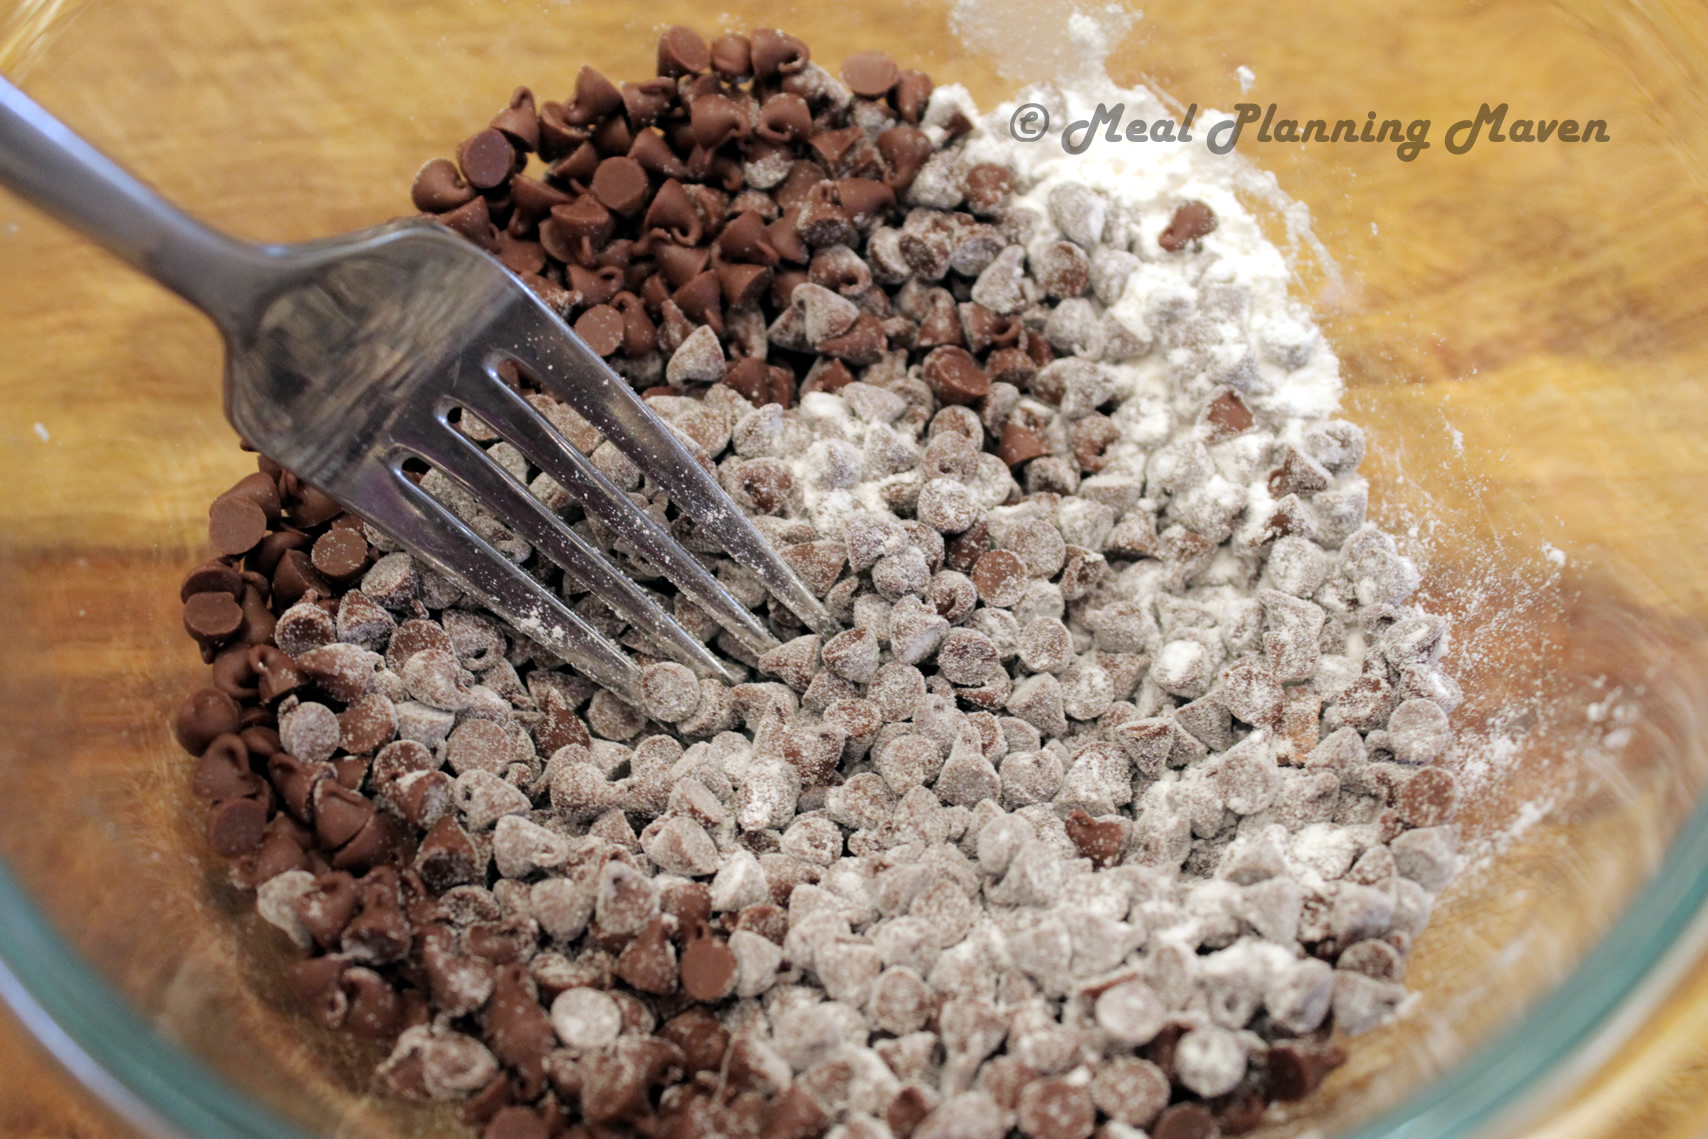
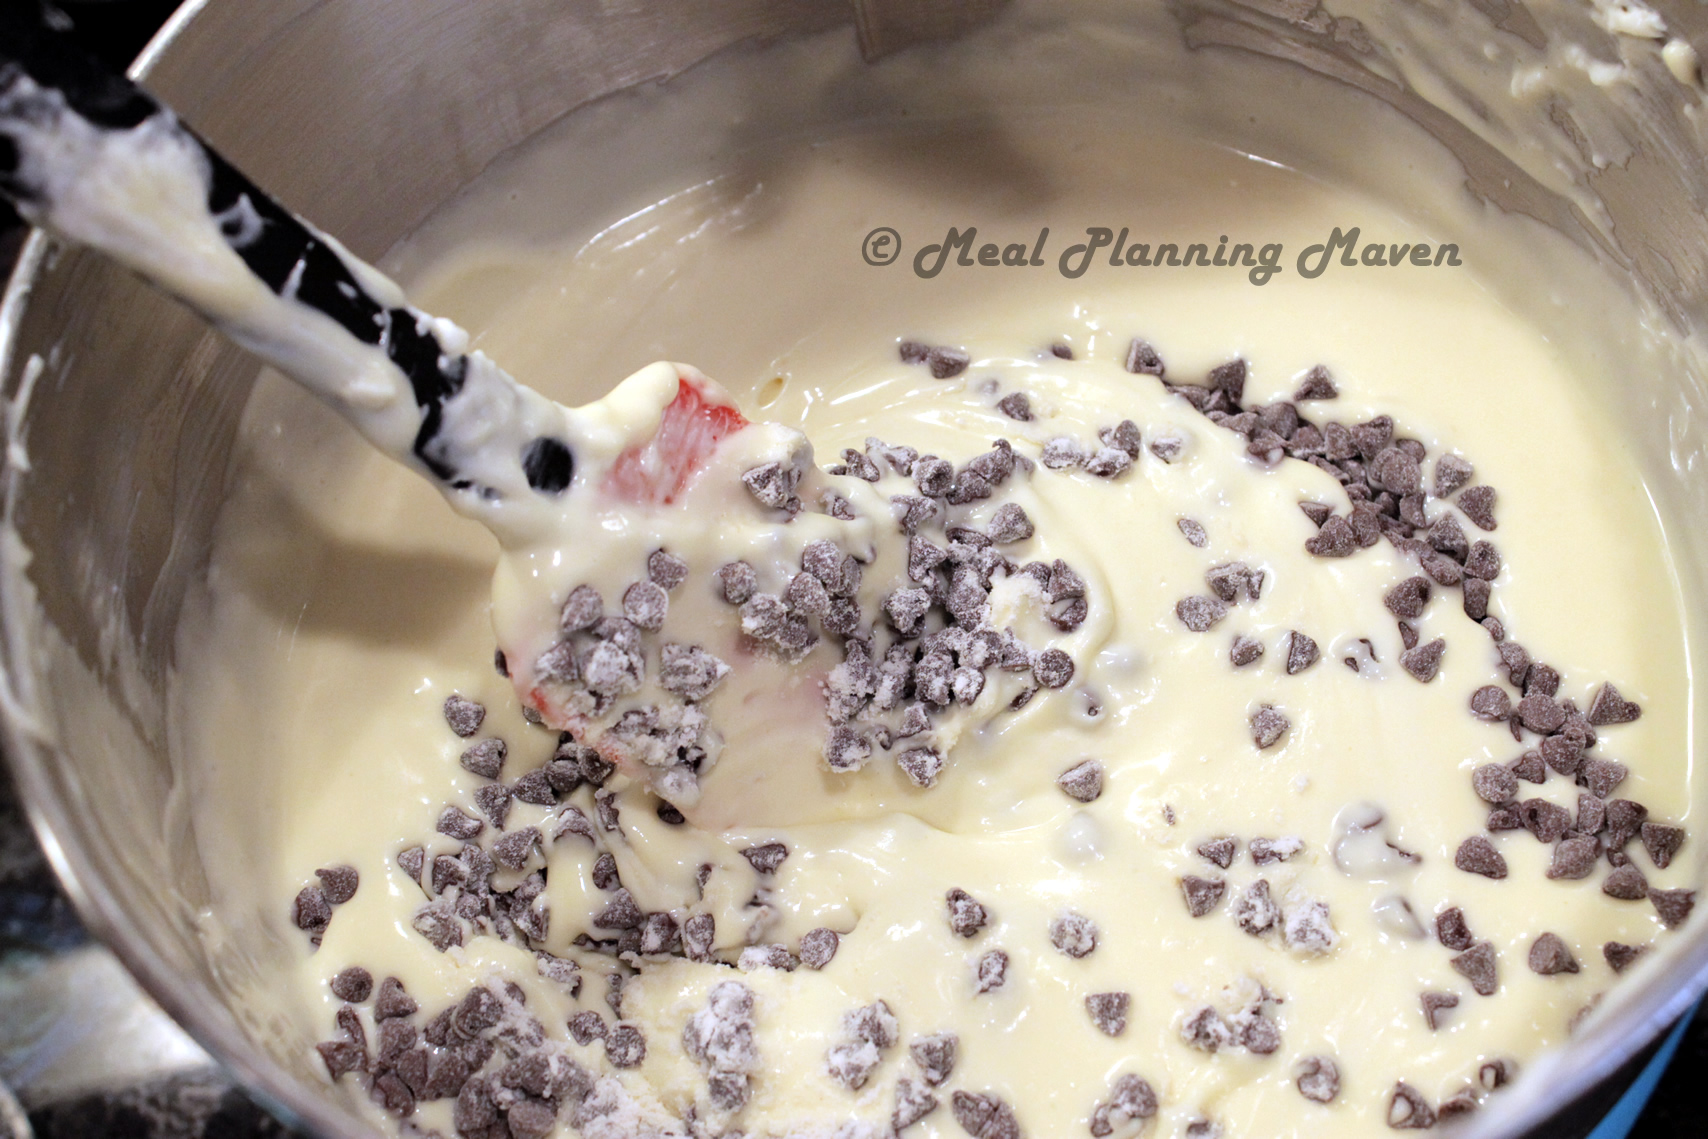
In a small bowl, toss chocolate chips with flour. (prevents chips from sinking to the bottom)
Using a spatula, fold in 2/3 cup mini chocolate chips.
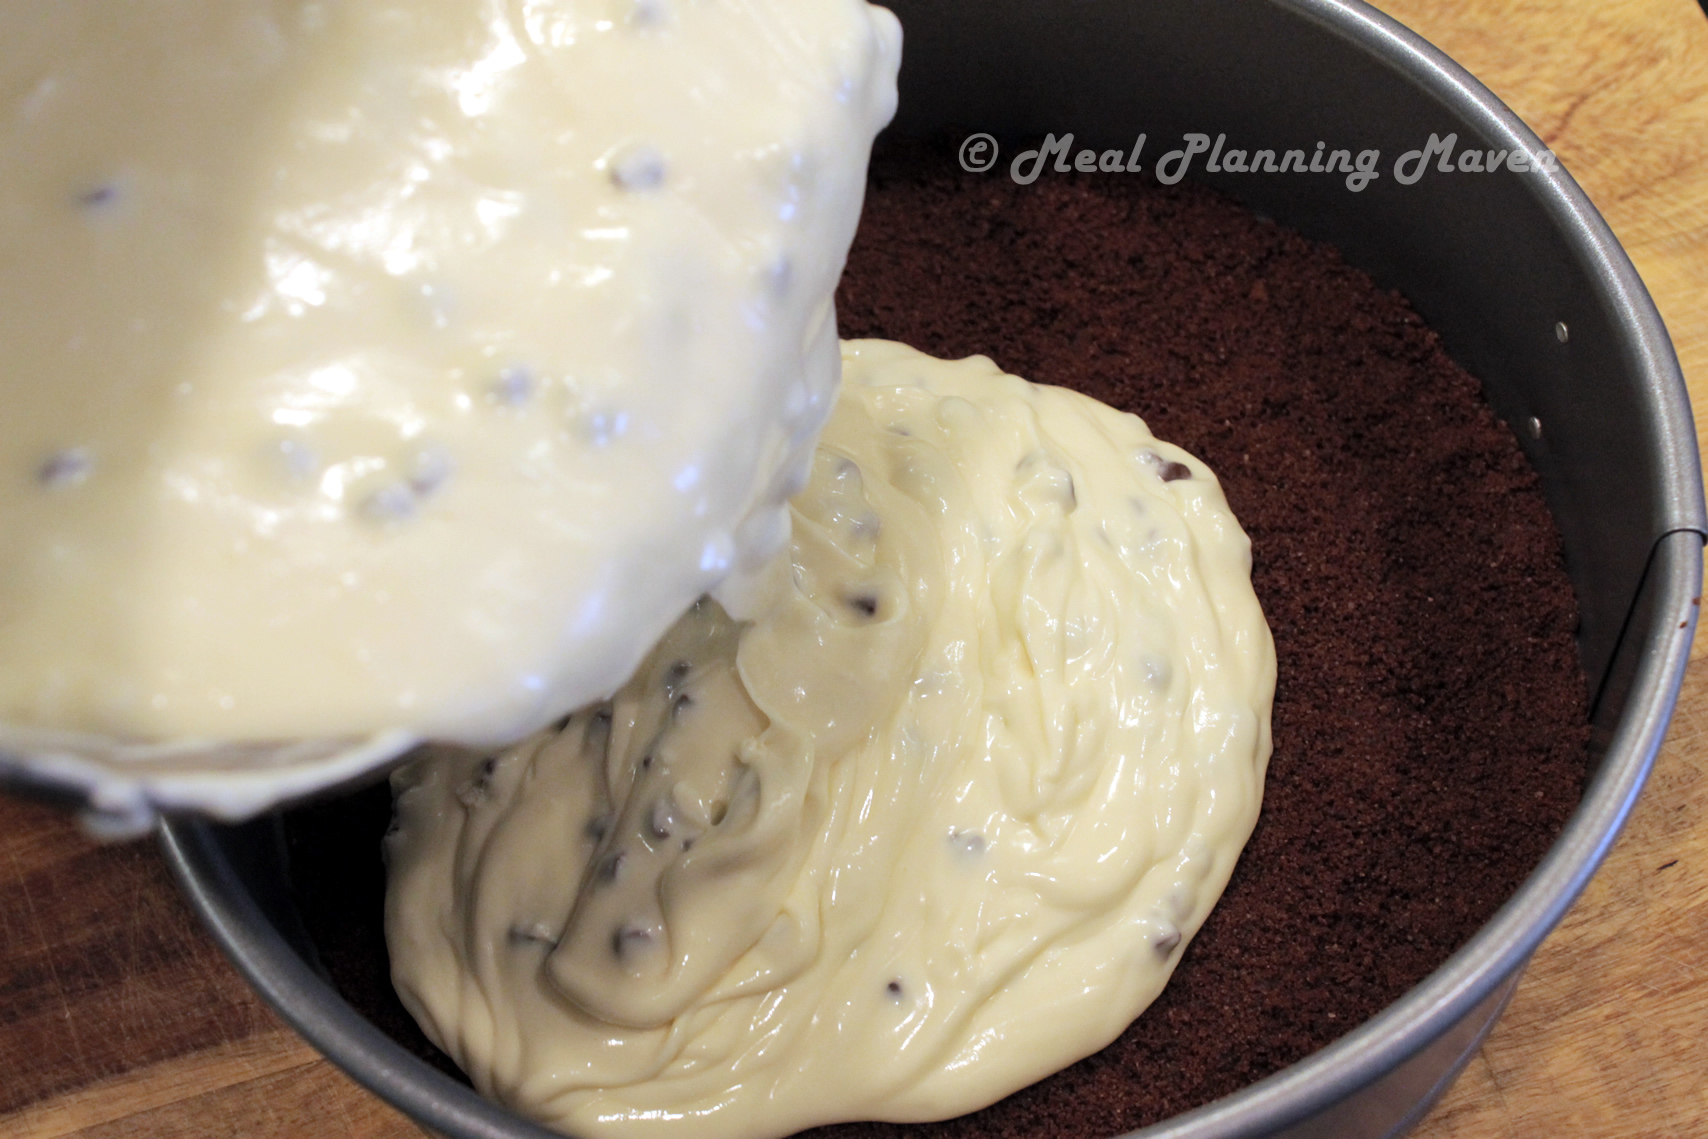
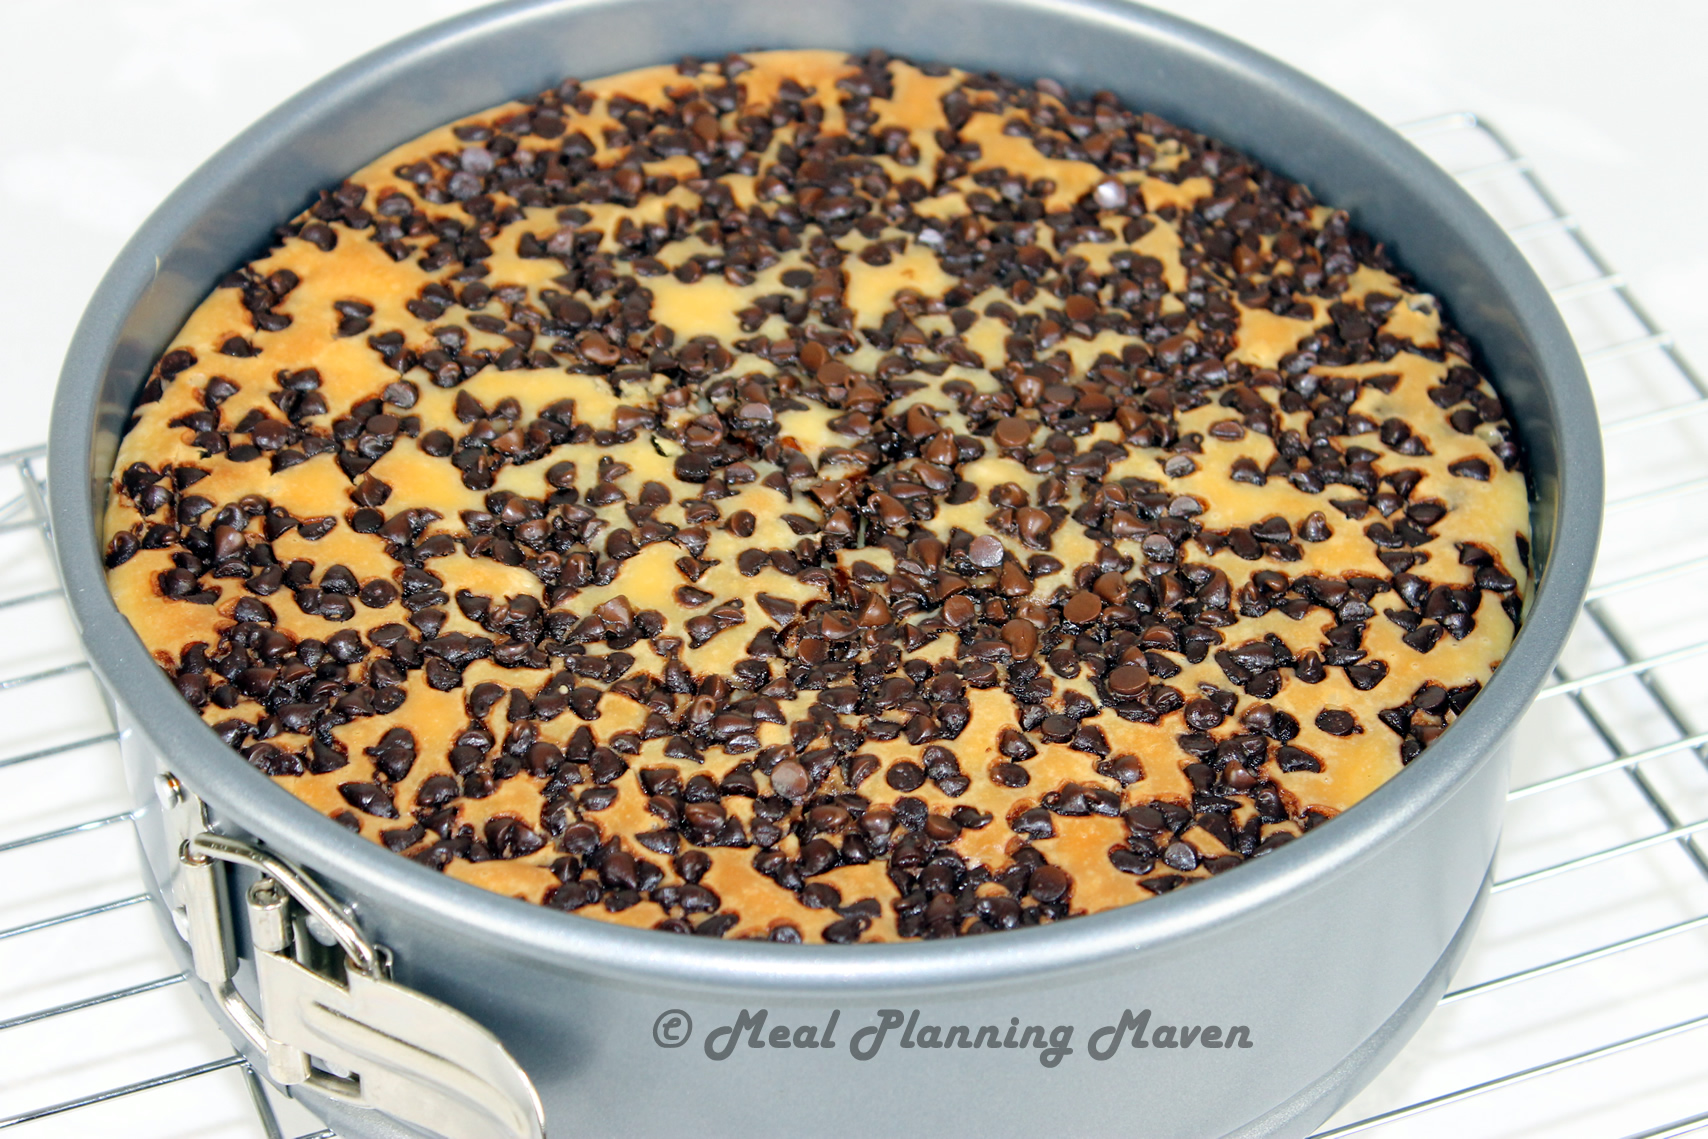
Pour filling into prepared crust. With a spatula, smooth top.
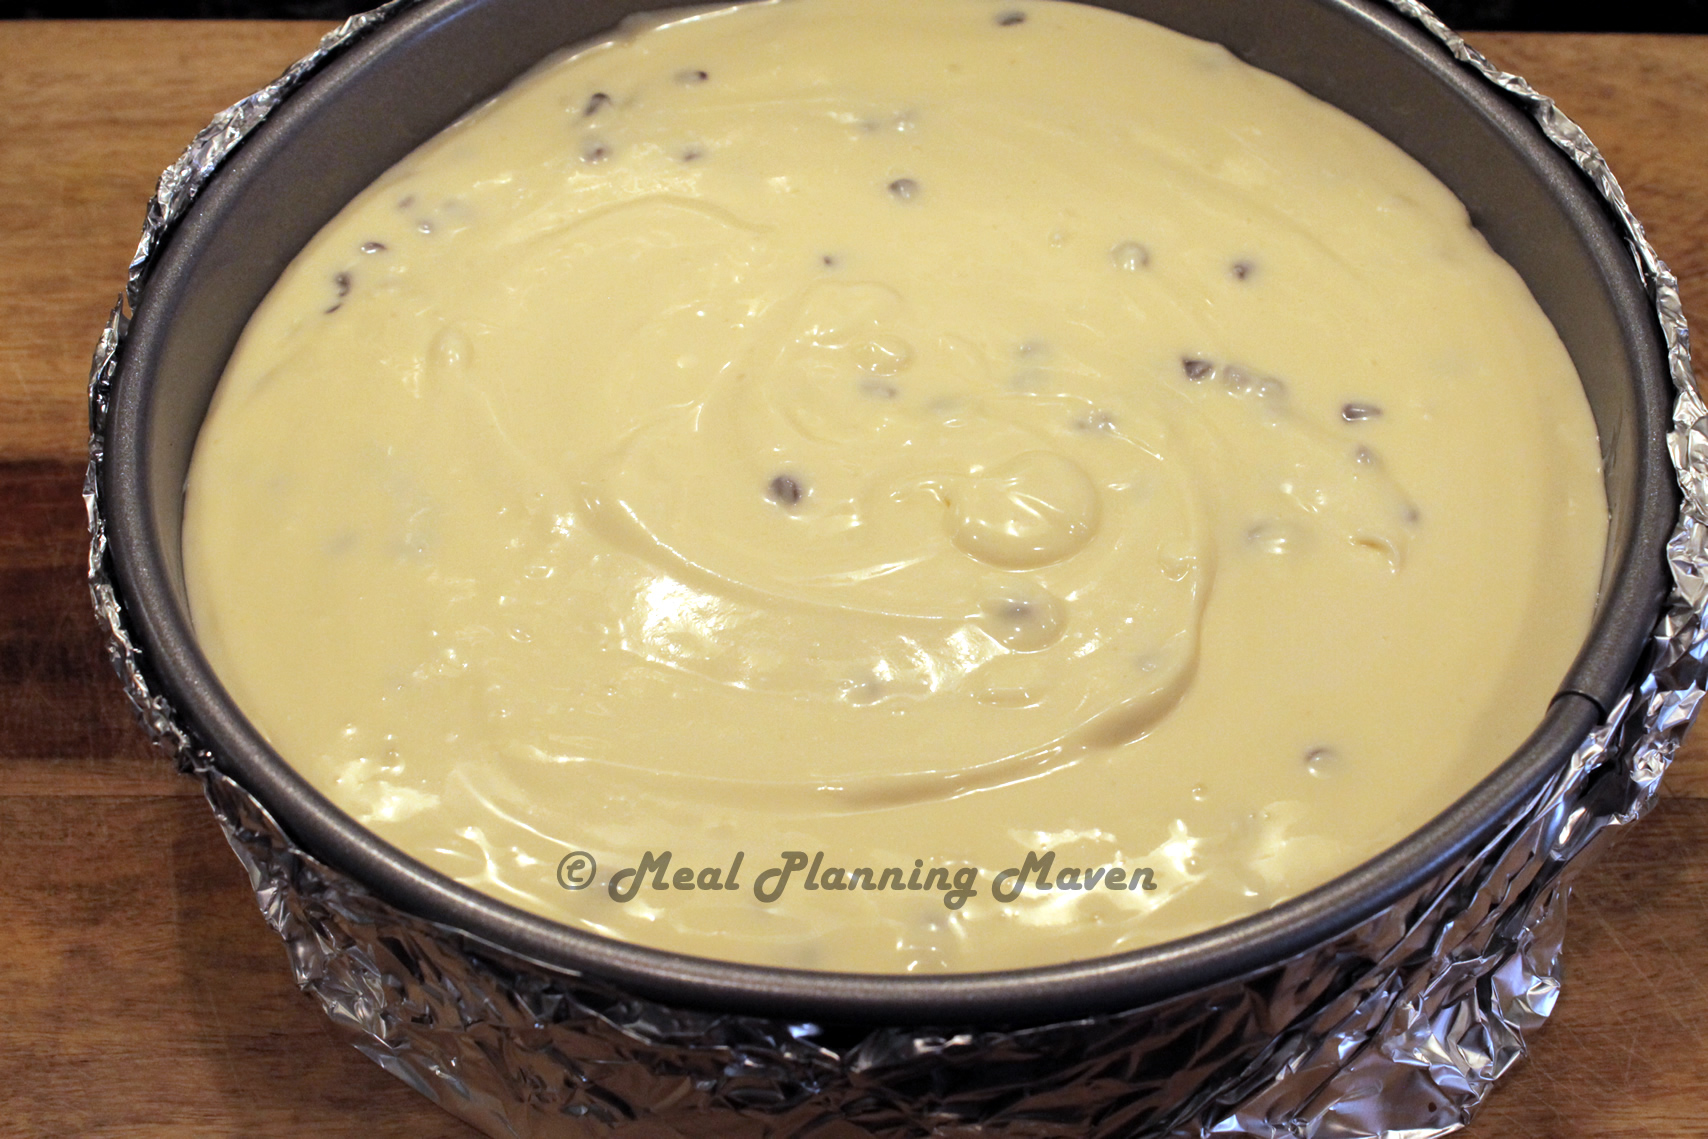
Sprinkle cheesecake filling with additional 1/2 cup mini chocolate chips, pushing in slightly.
Baking, Cooling and Chilling
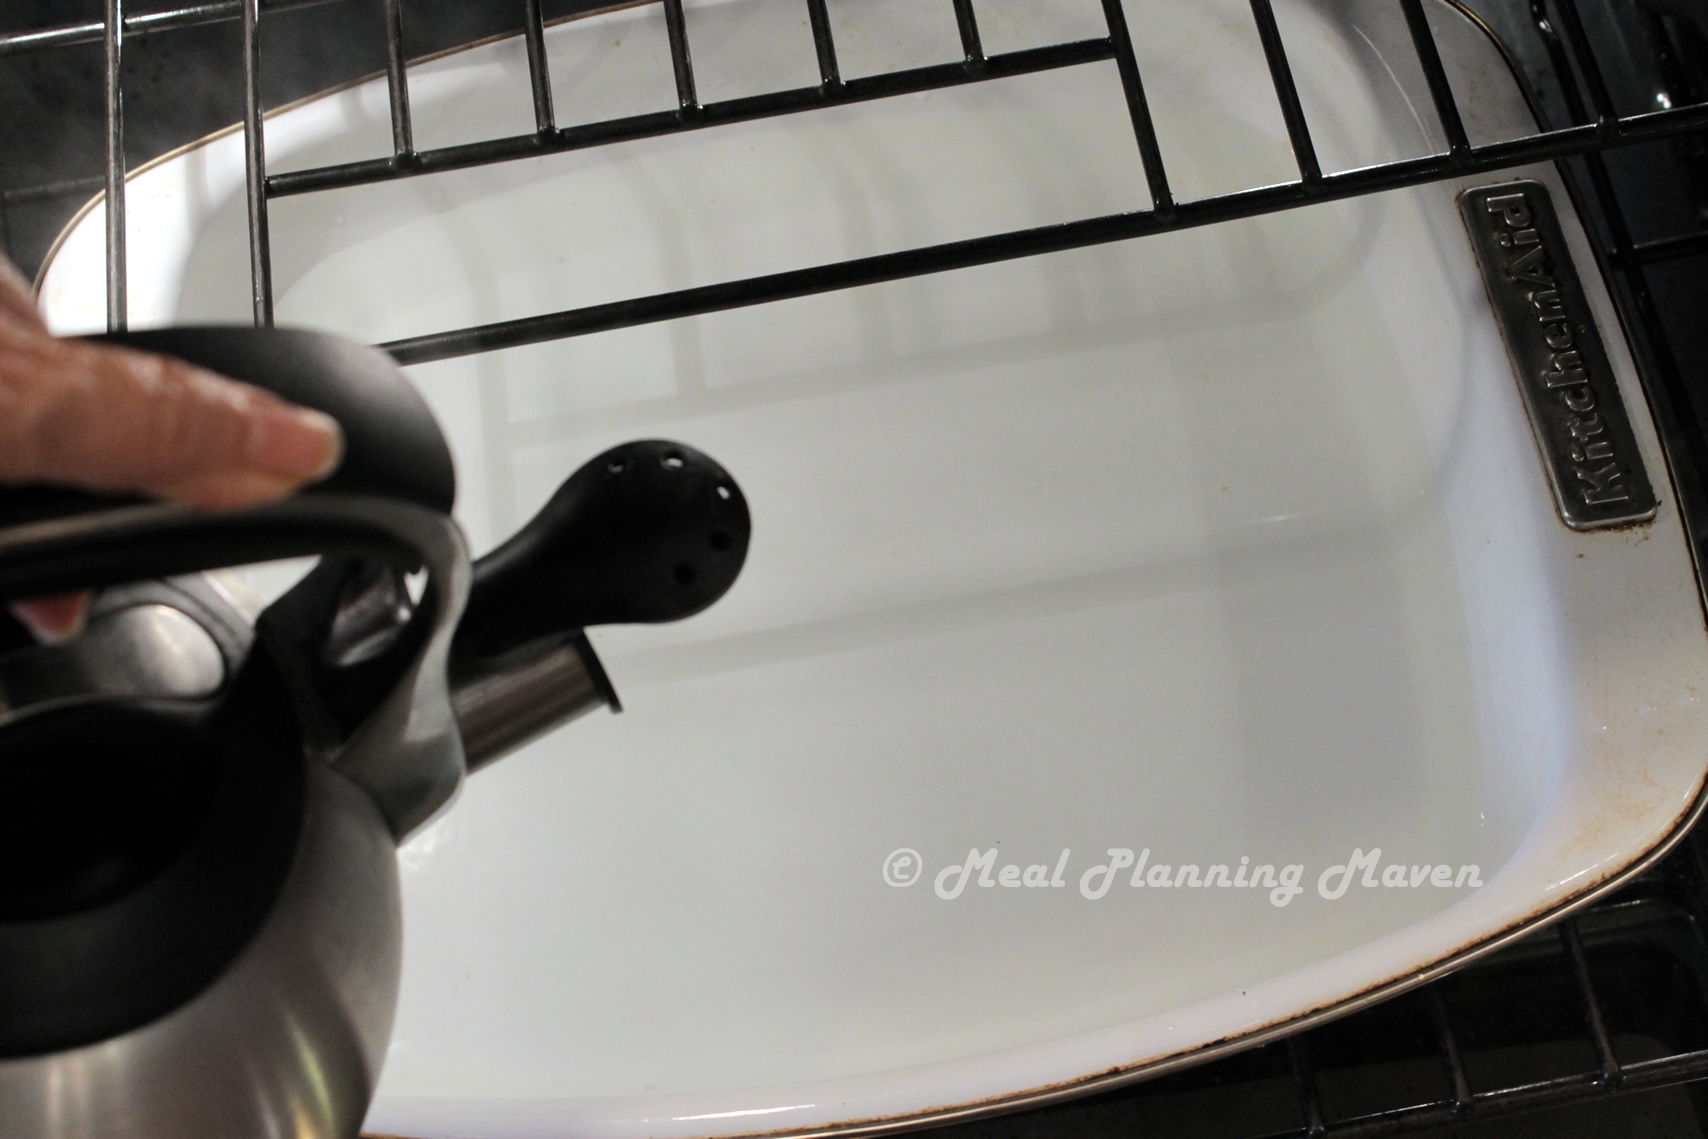
Carefully pour boiling water into roasting pan, filling about half-way. Place on bottom rack of oven. (The steam will provide a most environment which helps to prevent the cheesecake from cracking.)
Place cheesecake on rack above roasting pan. Bake for 55 to 65 minutes or until firm to the touch and center is still a bit “jiggly.” (Surface of cheesecake may also look a little wet and be lightly browned. This is okay.)
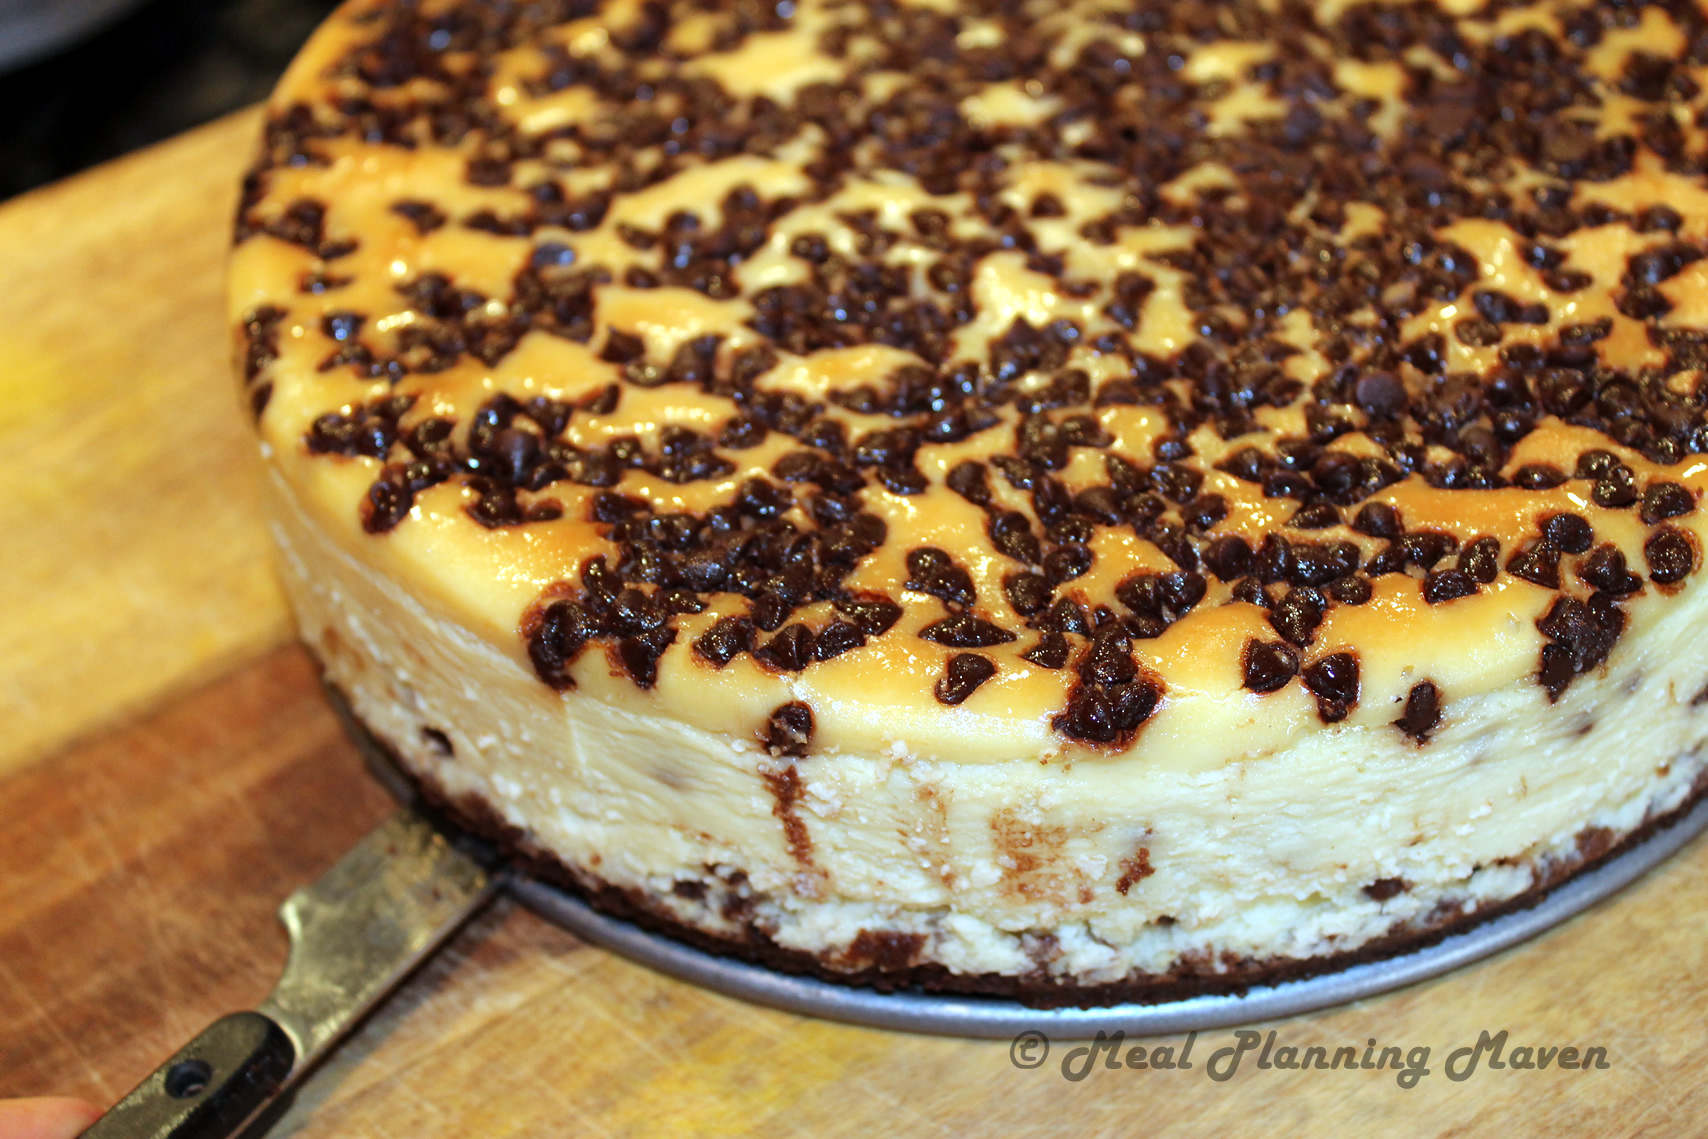
Turn off oven. With door partly open, allow cheesecake to remain in the in oven for 1 hour to slowly cool. (helps prevents cracking)
Remove cheesecake to a rack to complete cooling.
Cover top of cheesecake pan with foil; refrigerate (with springform ring on for support) for at least 8 hours or until completely chilled. (preferably overnight)
Assembly and Serving
For easier slicing, remove cheesecake from refrigerator about 20 minutes prior to serving. Remove springform ring. (If desired, carefully remove pan bottom from cheesecake with a sharp knife or unflavored dental floss using a “sawing” motion.
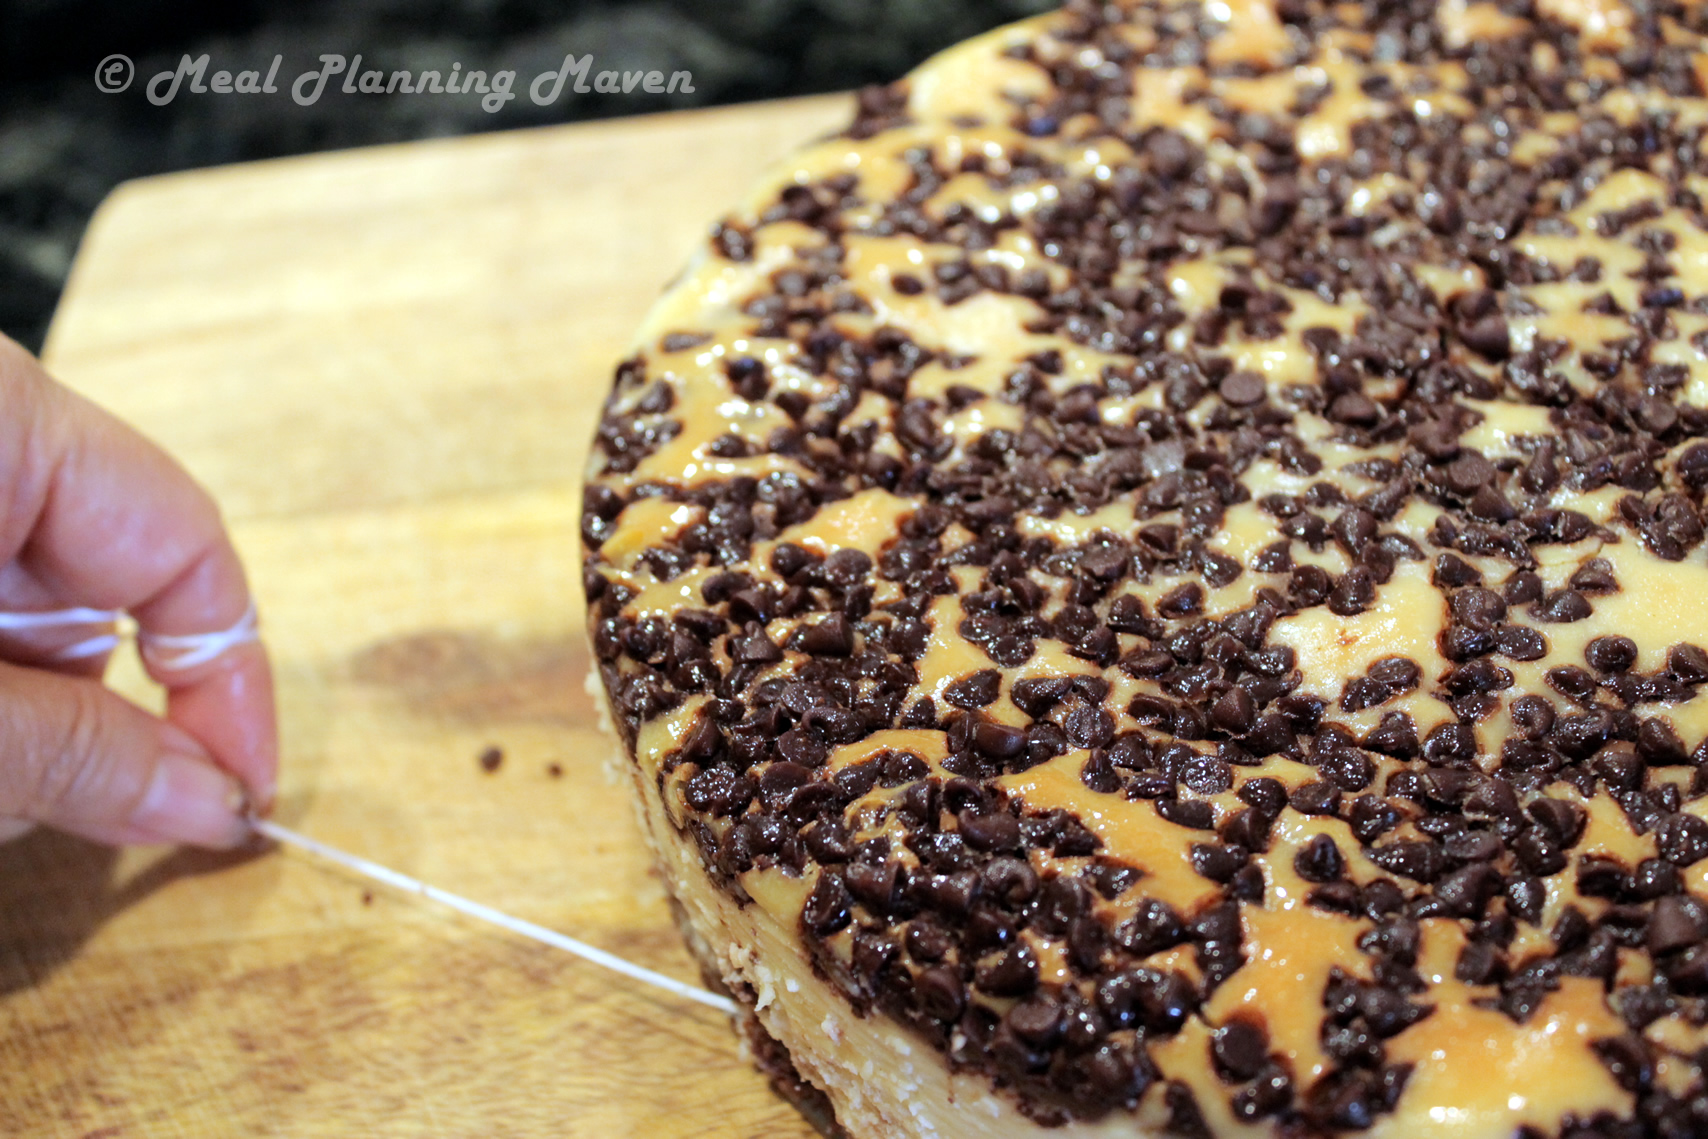
Place cheesecake on a decorative plate.
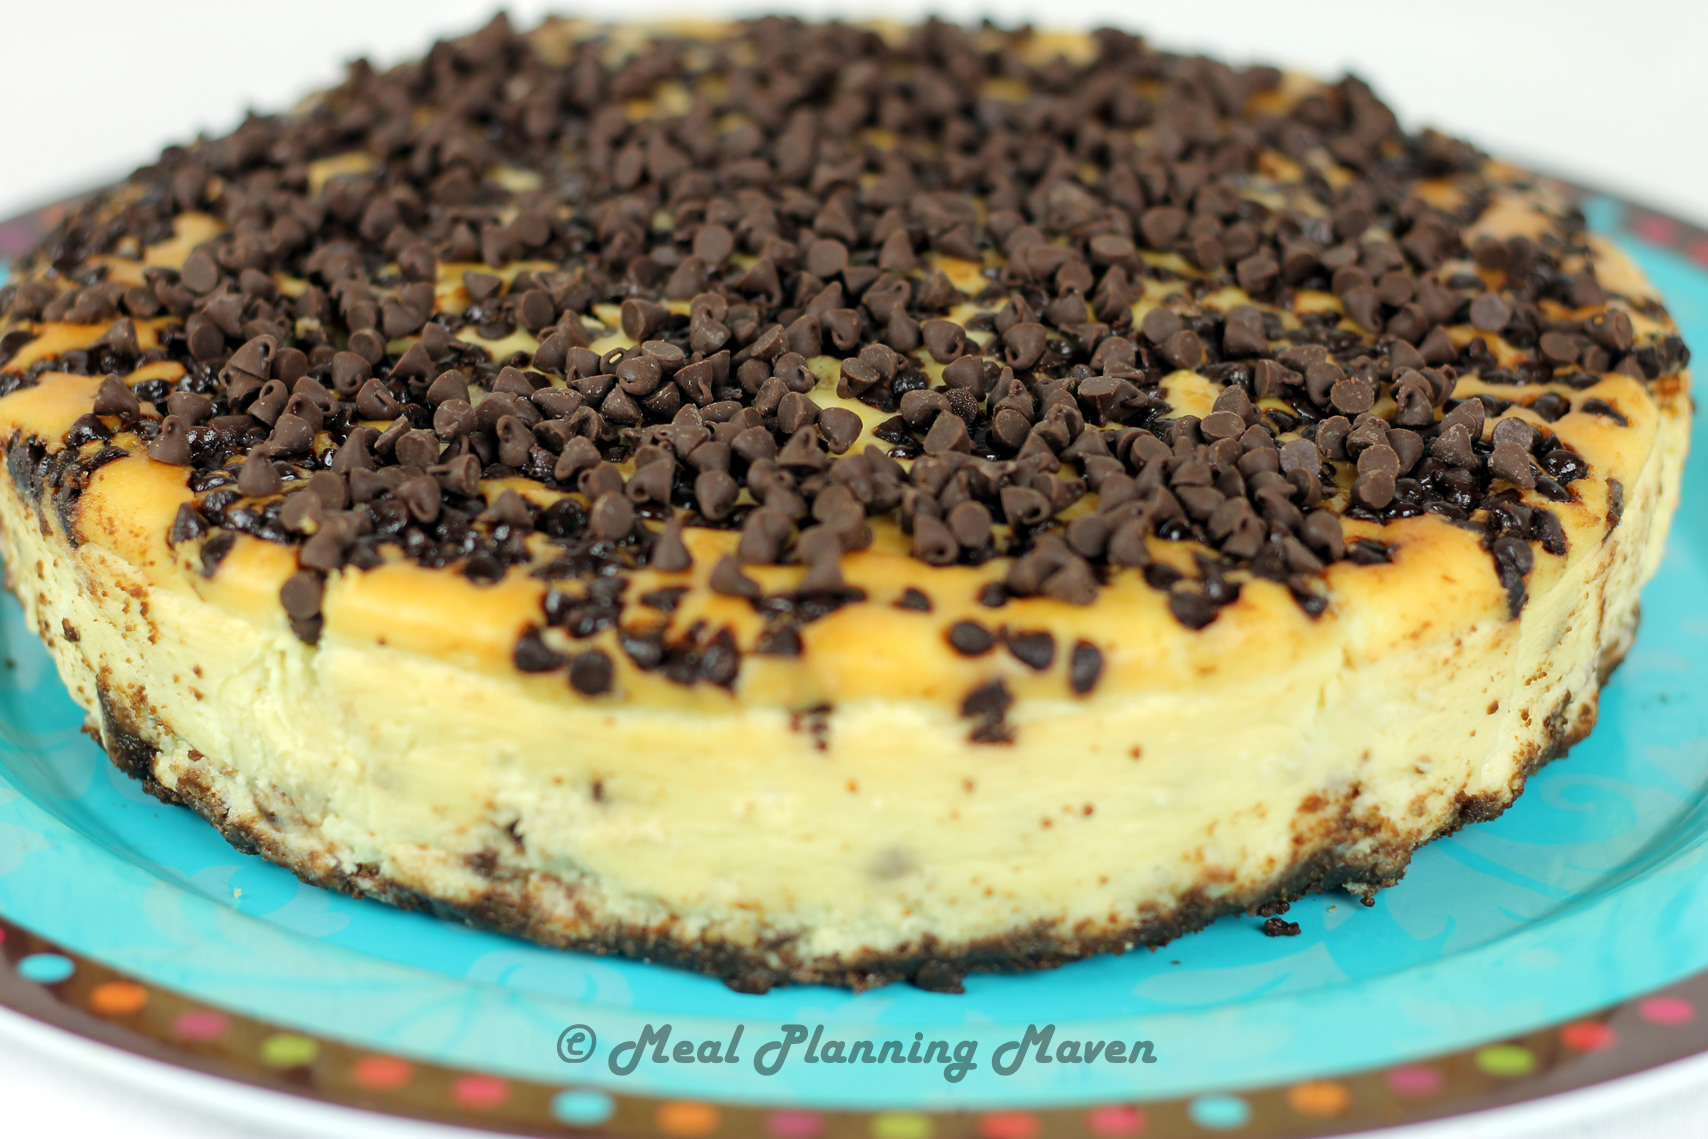
Slice as desired.


Ultimate Chocolate Chip Cheesecake
Yield:about 12 servings
Ingredients
- 9- inch springform pan
- Butter for greasing pan bottom
- Foil
- Roasting pan
- Boiling water
Crust
- 2 cups chocolate graham cracker crumbs (about 2 sleeves of crackers or 1 (7.5 ounce box) chocolate graham cracker snacks-see MPM Mini-Bites)
- 1 1/2 tablespoons sugar I used organic cane sugar
- 2 teaspoons unsweetened cocoa
- 5 tablespoons unsalted butter melted
- Pinch salt
Filling
- 32 ounces cream cheese room temperature, cut into chunks
- 1 1/3 cups sugar
- 2 teaspoons pure vanilla extract
- Pinch salt
- 4 large eggs
- 2/3 cup heavy whipping cream
- 2/3 cup sour cream
- 2/3 cup mini chocolate chips tossed with 1 teaspoon flour
Topping
- 1/2 cup mini chocolate chips additional
Instructions
Make the Crust
- Preheat oven to 350 degrees F. Wrap outside of pan tightly with foil. (to prevent leakage)
- Grease bottom of springform pan with butter.
- In a large bowl, stir together all crust ingredients with a fork until crumbly.
- Using the back of a measuring cup, press crumbs firmly and evenly onto bottom of pan.
- Bake crust for 8 minutes. Remove to a rack; let cool.
- Reduce the oven temperature to 325 degrees F.
Make the Filling
- In an electric mixer bowl set on medium speed, beat cream cheese for 4 minutes or until smooth and creamy with no lumps remaining.
- Gradually add sugar, vanilla and salt, beating until well combined.
- Beat in eggs, 1 at a time, scraping bowl after each addition.
- Add whipping cream and sour cream, scraping down sides of bowl to ensure all ingredients are incorporated.
- By hand, fold in 2/3 cup mini chocolate chips.
- Pour filling into prepared crust. With a spatula, smooth top.
- Sprinkle cheesecake filling with additional 1/2 cup mini chocolate chips, pushing in slightly.
Baking, Cooling and Chilling
- Carefully pour boiling water into roasting pan, filling about half-way. Place on bottom rack of oven. (The steam will provide a most environment which helps to prevent the cheesecake from cracking.)
- Place cheesecake on rack above roasting pan. Bake for 55 to 65 minutes or until firm to the touch and center is still a bit “jiggly.” (Surface of cheesecake may also look a little wet and be lightly browned. This is okay.)
- Turn off oven. With door partly open, allow cheesecake to remain in the in oven for 1 hour to slowly cool. (prevents cracking)
- Remove cheesecake to a rack to complete cooling.
- Cover top of cheesecake pan with foil; refrigerate (with springform ring on for support) for at least 8 hours or until completely chilled. (preferably overnight)
Assembly and Serving
- For easier slicing, remove cheesecake from refrigerator about 20 minutes prior to serving. Remove springform ring. (If desired, carefully remove pan bottom from cheesecake with a sharp knife or unflavored dental floss using a “sawing” motion.
- Place cheesecake on a decorative plate; cut into small slices.
Notes
Notes
Definitely indulgent! As this cheesecake is very rich, small slices will definitely satisfy. Perfect alone or served with just a simple accompaniment of berries and/or freshly whipped cream.
Can’t find mini chips? Just chop the same amount of regular-sized chocolate chips! The chips will splinter which yields more of a chocolate fleck texture than chip. Both are equally delicious, trust me!
Always one to choose the healthiest and least refined ingredients when making sweets… I used Organic Sugar from Wholesome Sweeteners and Chocolate Snack Grahams from Horizon. Both are available at natural food store such as Whole Foods as well as in some supermarkets. Feel free to choose the products you normally use.
Need a gluten-free crust alternative? Kinnikinnick’s gluten-free S’Moreables Graham Style Crackers or Graham Style Crumbs are absolutely delicious! Both are available in natural food stores such as Whole Foods or online.
Are you a springform pan newbie? Look for a sturdy pan with a tight clasp. There are several good ones on the market today. I recently purchased one at Sur La Table with a glass bottom that I love. I also really like my Caphalon. Springform pans are available at stores like Bed, Bath and Beyond and other kitchen specialty stores such Williams Sonoma as well as online.
Cheesecake Lovers “Must-Tries!”


Coming to the Blog: Grilled Pepper Caprese Salad

Hungry for More?
I invite you to visit my Recipe Collections where lots of goodies such as goodies such as Edible Gifts, Favorite Crockpot Dishes, Winter Dishes, Favorite Poultry Dishes, Pack ‘n Go Lunch Favorites, Pudge-Busting Dishes, Dinners in a Flash, Freezer-Friendly Meals, and Healthier Indulgences are awaiting your discovery!
Can You Become a Meal Planning Maven Success Story?
YES! Contact me for more information about my services. I would love to share my healthy eating secrets you can use, today, tomorrow and always. My specialties include creating customized meal planners and one-on-one food coaching using tried ‘n true methods. Whether your goal is to feed your family healthier meals, build a collection of quick ‘n easy recipes, “go gluten-free,” or perhaps knock off that pesky “pudge” that has already found its way to your middle this summer …I’d LOVE to try to help!
MPM’s Success Stories
I Would LOVE to Hear from You!
If you enjoy my blogs, please take a moment to leave me a comment. Find a recipe you love? Then do drop me a note! For your convenience, there is a section located at the end of each blog. Thanks so much for your support!
“Get Social” with MPM!
 |
 |
 |
 |
 |
 |
Linda Shapiro, Meal Planning Maven
![]()

3 Responses